
Brakes are the unsung heroes of the road bike world — right up until they save your life, at which point you’ll sing like a canary about how great they are. Cyclists rely on well-maintained, fully functional brakes to stop on a dime, or to help control speed as they negotiate road features and obstacles, safely and effectively. Rim brakes, disc brakes, mechanical and hydraulic brakes, caliper brakes, V-brakes, cantilever: welcome to the heady world of road bike brakes.
What are road bike brakes?
The key word when it comes to understanding bike brakes is ‘control.’ Regardless of the type of brake (we’ll get into that below), they’re designed to help you control the speed of your bike in varying conditions.
All road bike brakes work in much the same way and feature the same cast of characters. Handlebar-mounted brake levers actuate cables or hydraulic lines, which connect to the brake caliper at the wheel’s rim or brake rotor. Squeeze the brake levers with appropriate force and they activate the brake caliper, which applies the brake pads to the braking surface (either the rim on a rim-brake bike or at the rotor on a disc-brake bike), and you slow down or come to a complete stop. Simple.
SHOP DISC BRAKE ROAD BIKES | SHOP RIM BRAKE ROAD BIKES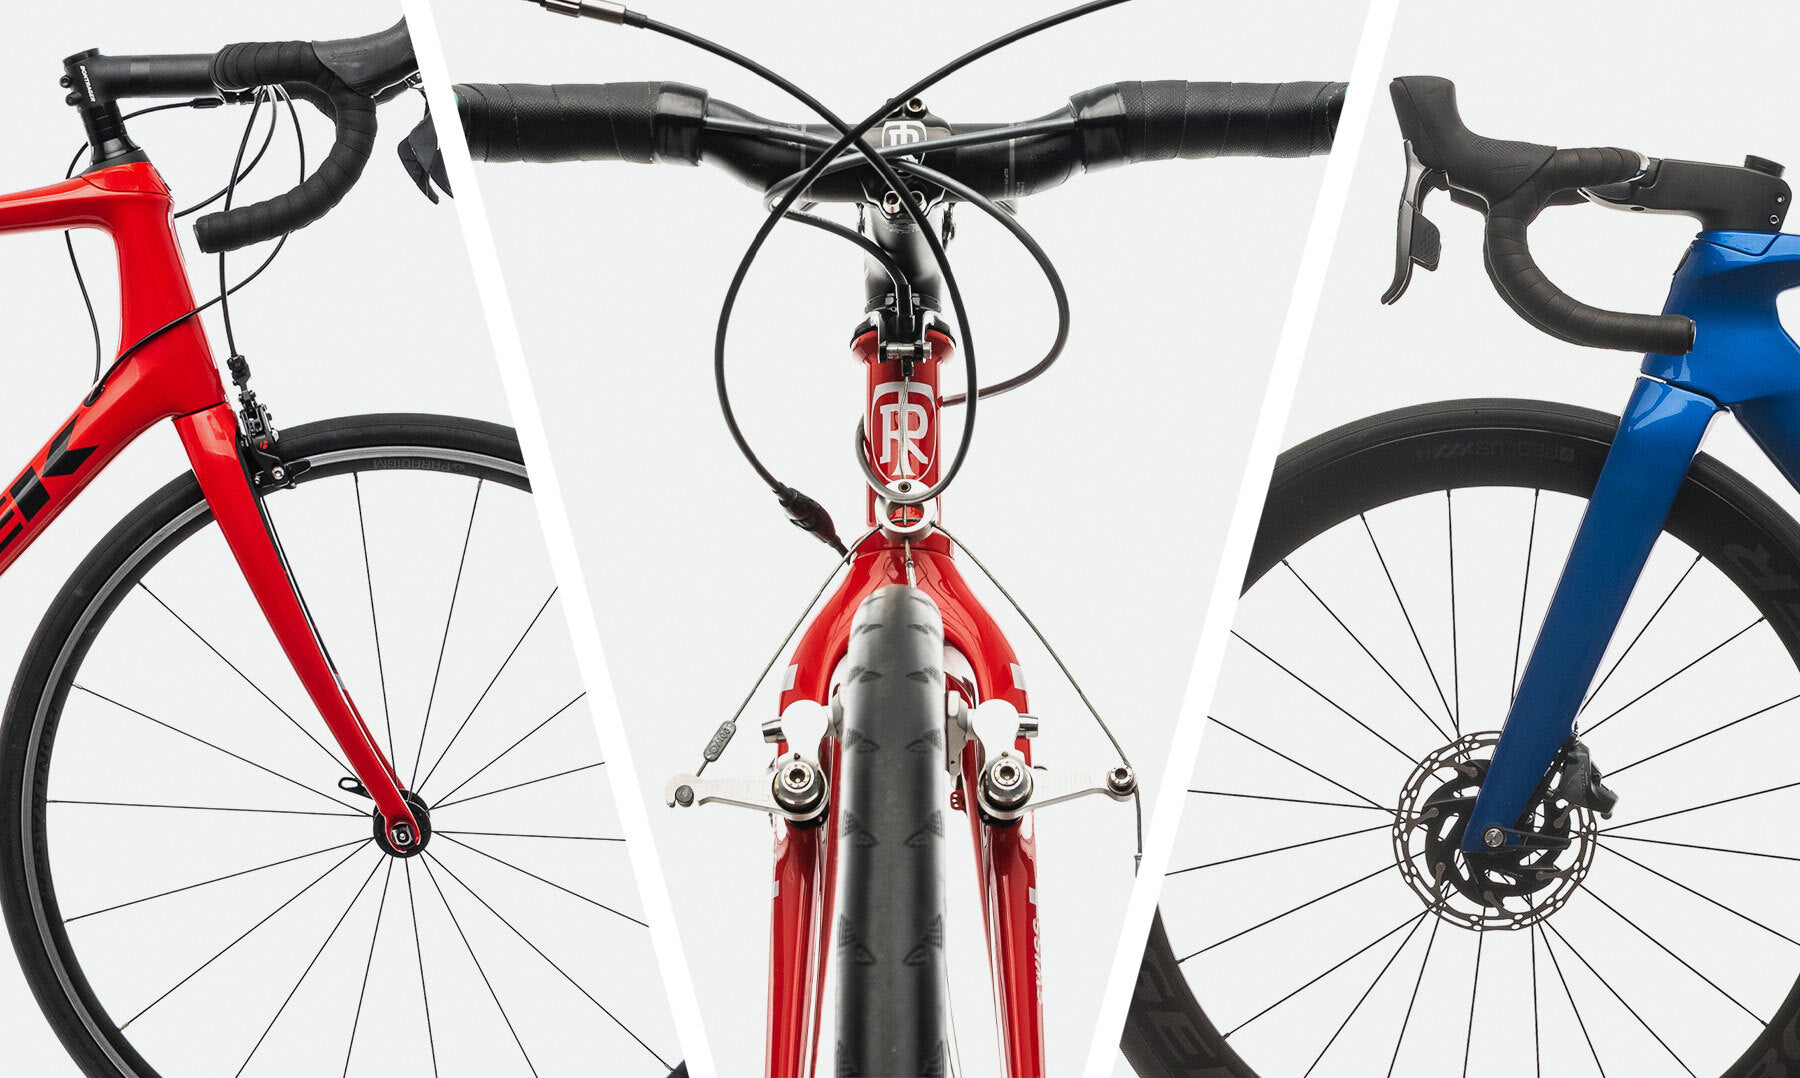
What types of road bike brakes are available?
There are two brake gangs in this world — rim brakes and disc brakes. Rim brakes are traditional, and until quite recently were the only kind of brake you’d find on a road bike. Over the past decade or so, disc brakes have crept over from the mountain bike world to stake a claim on new territory. Frame mounts and cable routing are very different for each system. If your bike is designed for rim brakes, you cannot convert it to disc brakes, and vice-versa.
Deep dive time.
Disc brakes
The new kid on the block, disc brakes have become fast favorites for their superior stopping power and reliability.
Disc brakes have their pros and cons. While they do have greater stopping power in the wet and are renowned for greater modulation and consistency, the ‘every gram matters’ crowd, a.k.a. “Weight Weenies,” argue that they add too much weight. But discs are getting lighter, so resistance continues to wane.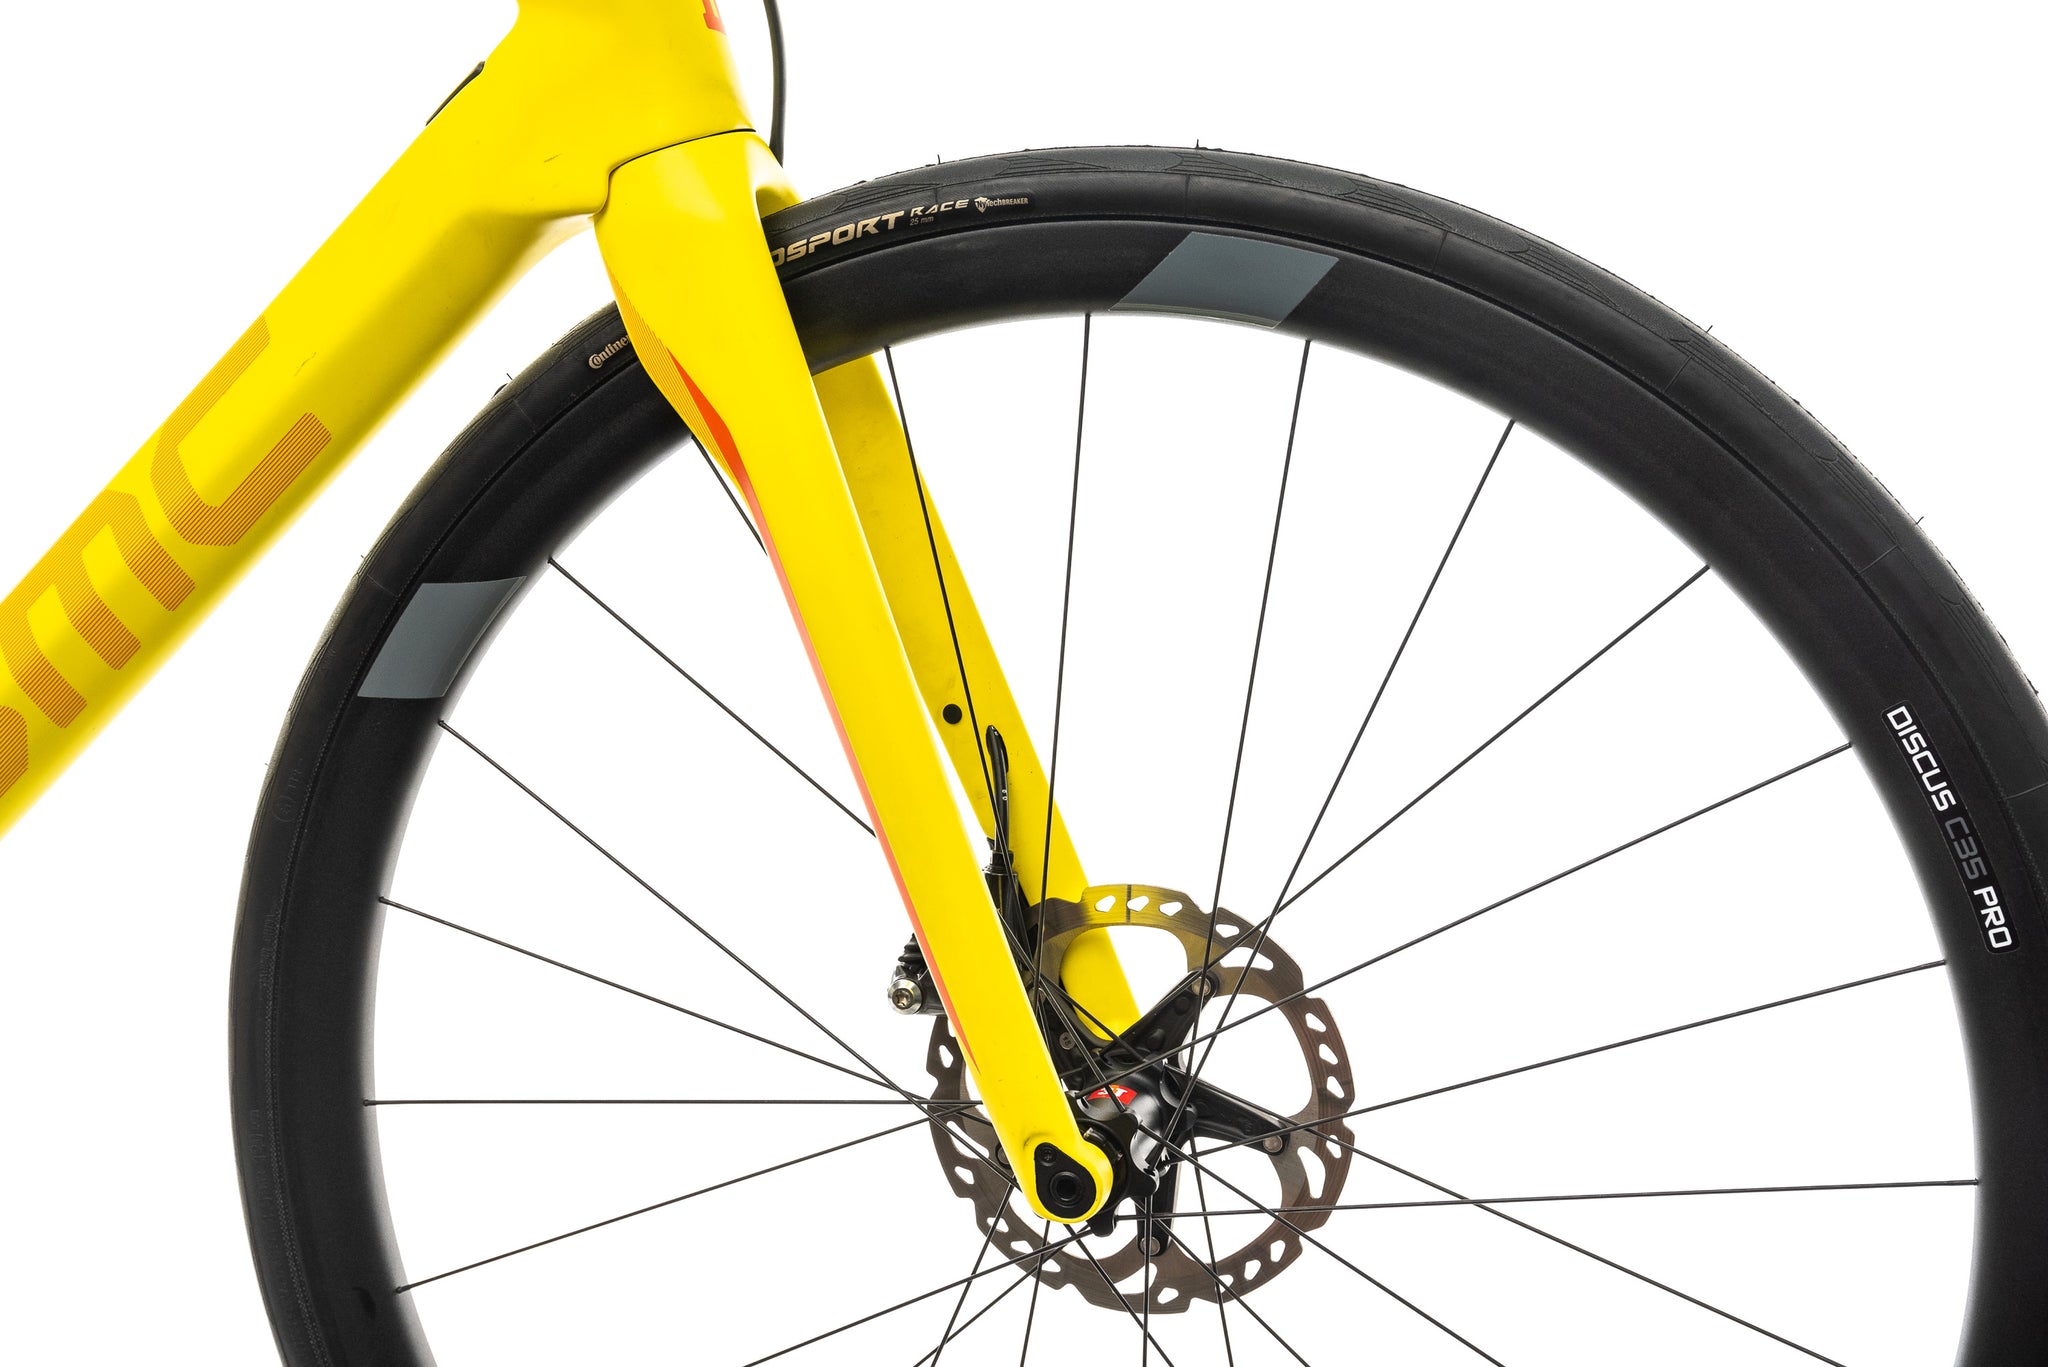
Pros:
• Awesome stopping power in the wet
• Consistent braking and modulation
• Less hand fatigue from braking
• Extends wheel longevity (braking surface not on rim)
• Unaffected by wheel being out of true
Cons:
• Weight
• Expensive
• Maintenance can be a drag (particularly with hydraulic)
Disc brakes come in two flavors: mechanical and hydraulic.
Mechanical
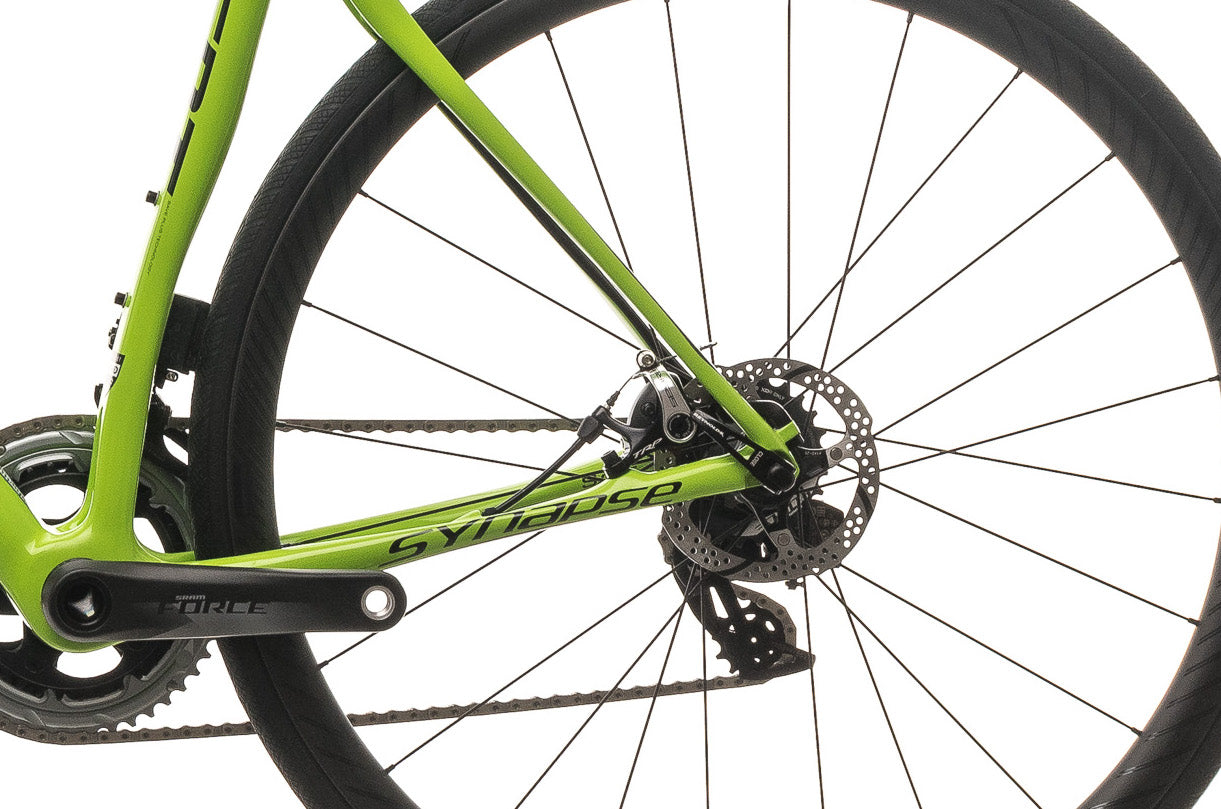
Note the braided steel cable at the brake caliper on this Cannondale Synapse. The cable pulls the arm that actuates the mechanical disc brake.
Also referred to as “cable-actuated,” mechanical disc brakes use a traditional braided steel wire cable to squeeze the caliper onto the braking surface. Mechanical disc brakes win on price — if you’re on a budget but still want disc brakes, these will save your wallet. The trade-off? Mechanical is heavier, requires greater braking force (squeeze); you’ll often get more rotor rub issues, and cables are prone to wear and contamination.
SHOP MECHANICAL-DISC ROAD BIKES
Hydraulic
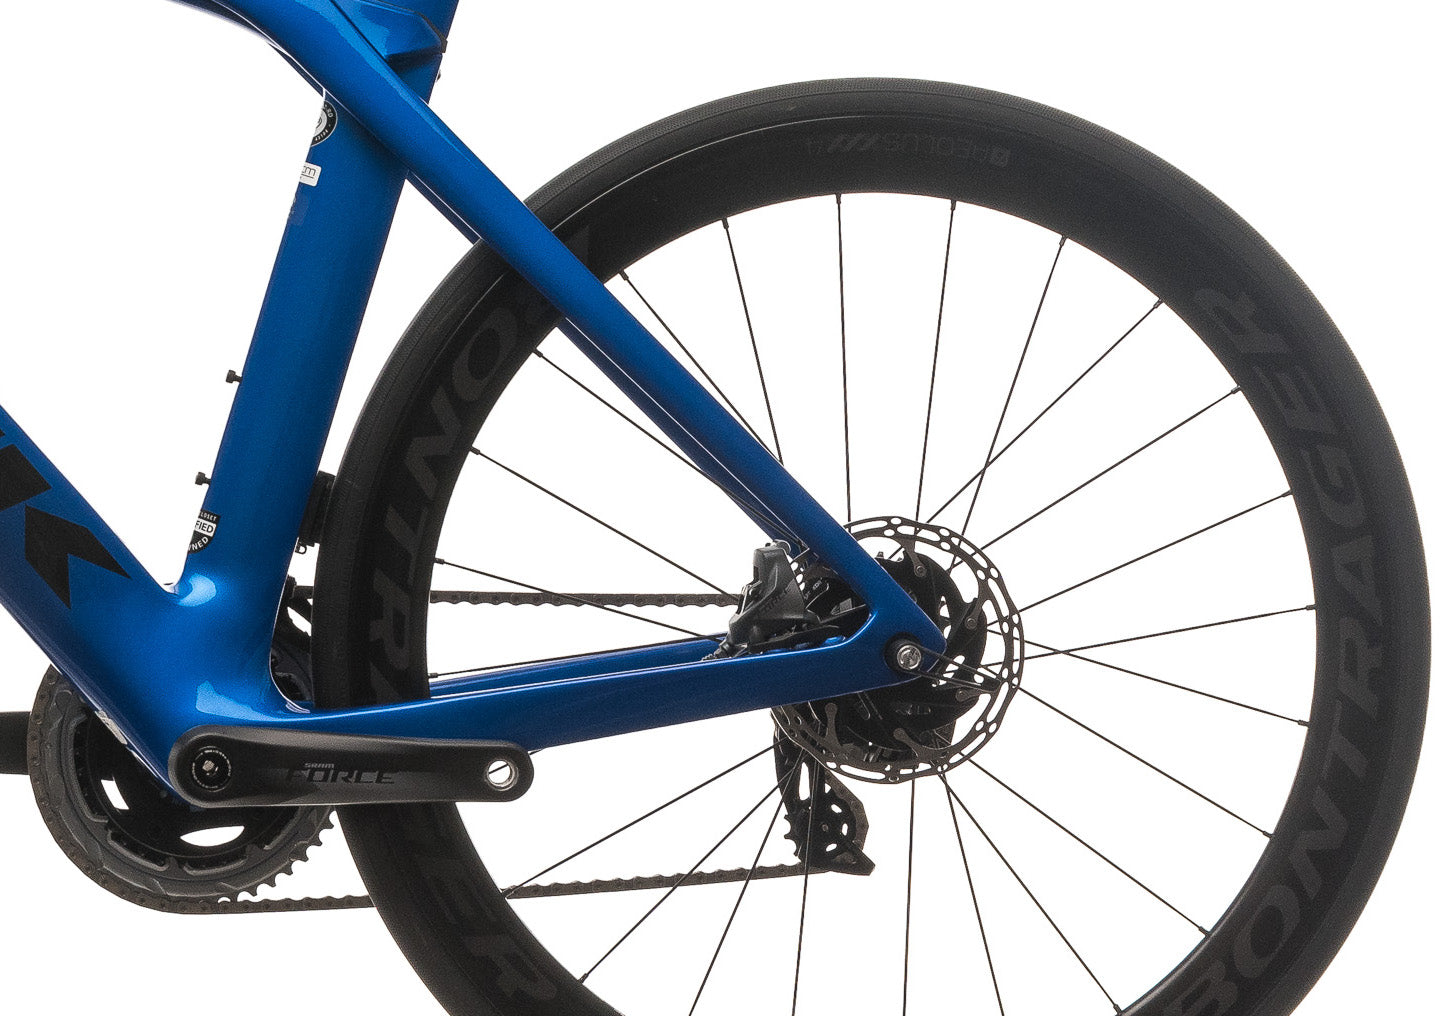
On some road bikes like this Trek Madone, you hardly see any of the hydraulic brake cables.
The difference is in the cable — literally. The brake cable in a hydraulic disc brake system is a fully sealed hydraulic line, meaning it’s a hose and not a cable at all. When you squeeze your brakes, the compression of the hydraulic brake fluid inside the hose activates the caliper and brake pads to scrub speed or stop.
Hydraulic brake maintenance can be a bit more complicated. You will need to periodically bleed the system to remove air bubbles and freshen up the fluid. This is not super-simple for home mechanics, and requires special tools, but it’s always good to learn new skills. The dedicated shift lever required for hydraulic disc brakes makes them the more expensive option, but the increased brake sensitivity (more power, less force) and resistance to contamination can seal the deal for many.
SHOP HYDRAULIC-DISC ROAD BIKES
Rim brakes
All wheels have rims, and in a rim brake system, that’s where the braking force is applied. When you squeeze the brake lever, the caliper/brake pad is compressed onto the rim’s brake track, slowing down the bike. Road bikes, cyclocross bikes, BMX bikes, touring bikes, commuter bikes — you can still find rim brakes on all these bikes. Rim brakes are favored by road bike racers simply because of weight, but these days only a handful of pro teams still ride rim brakes.
Pros
• Lighter than disc
• Mechanically simple and easy to maintain
• More aero (if you’re into that)
Cons
• Less responsive than discs
• Brake pads wear faster
• Limits tire clearance
• Not as good in wet conditions
• Wears out rim faster than disc (but your wheels will still last a long time!)
Where disc brakes only have two varieties, you’ll find multiple types of rim brake systems, each with its quirks and advantages.
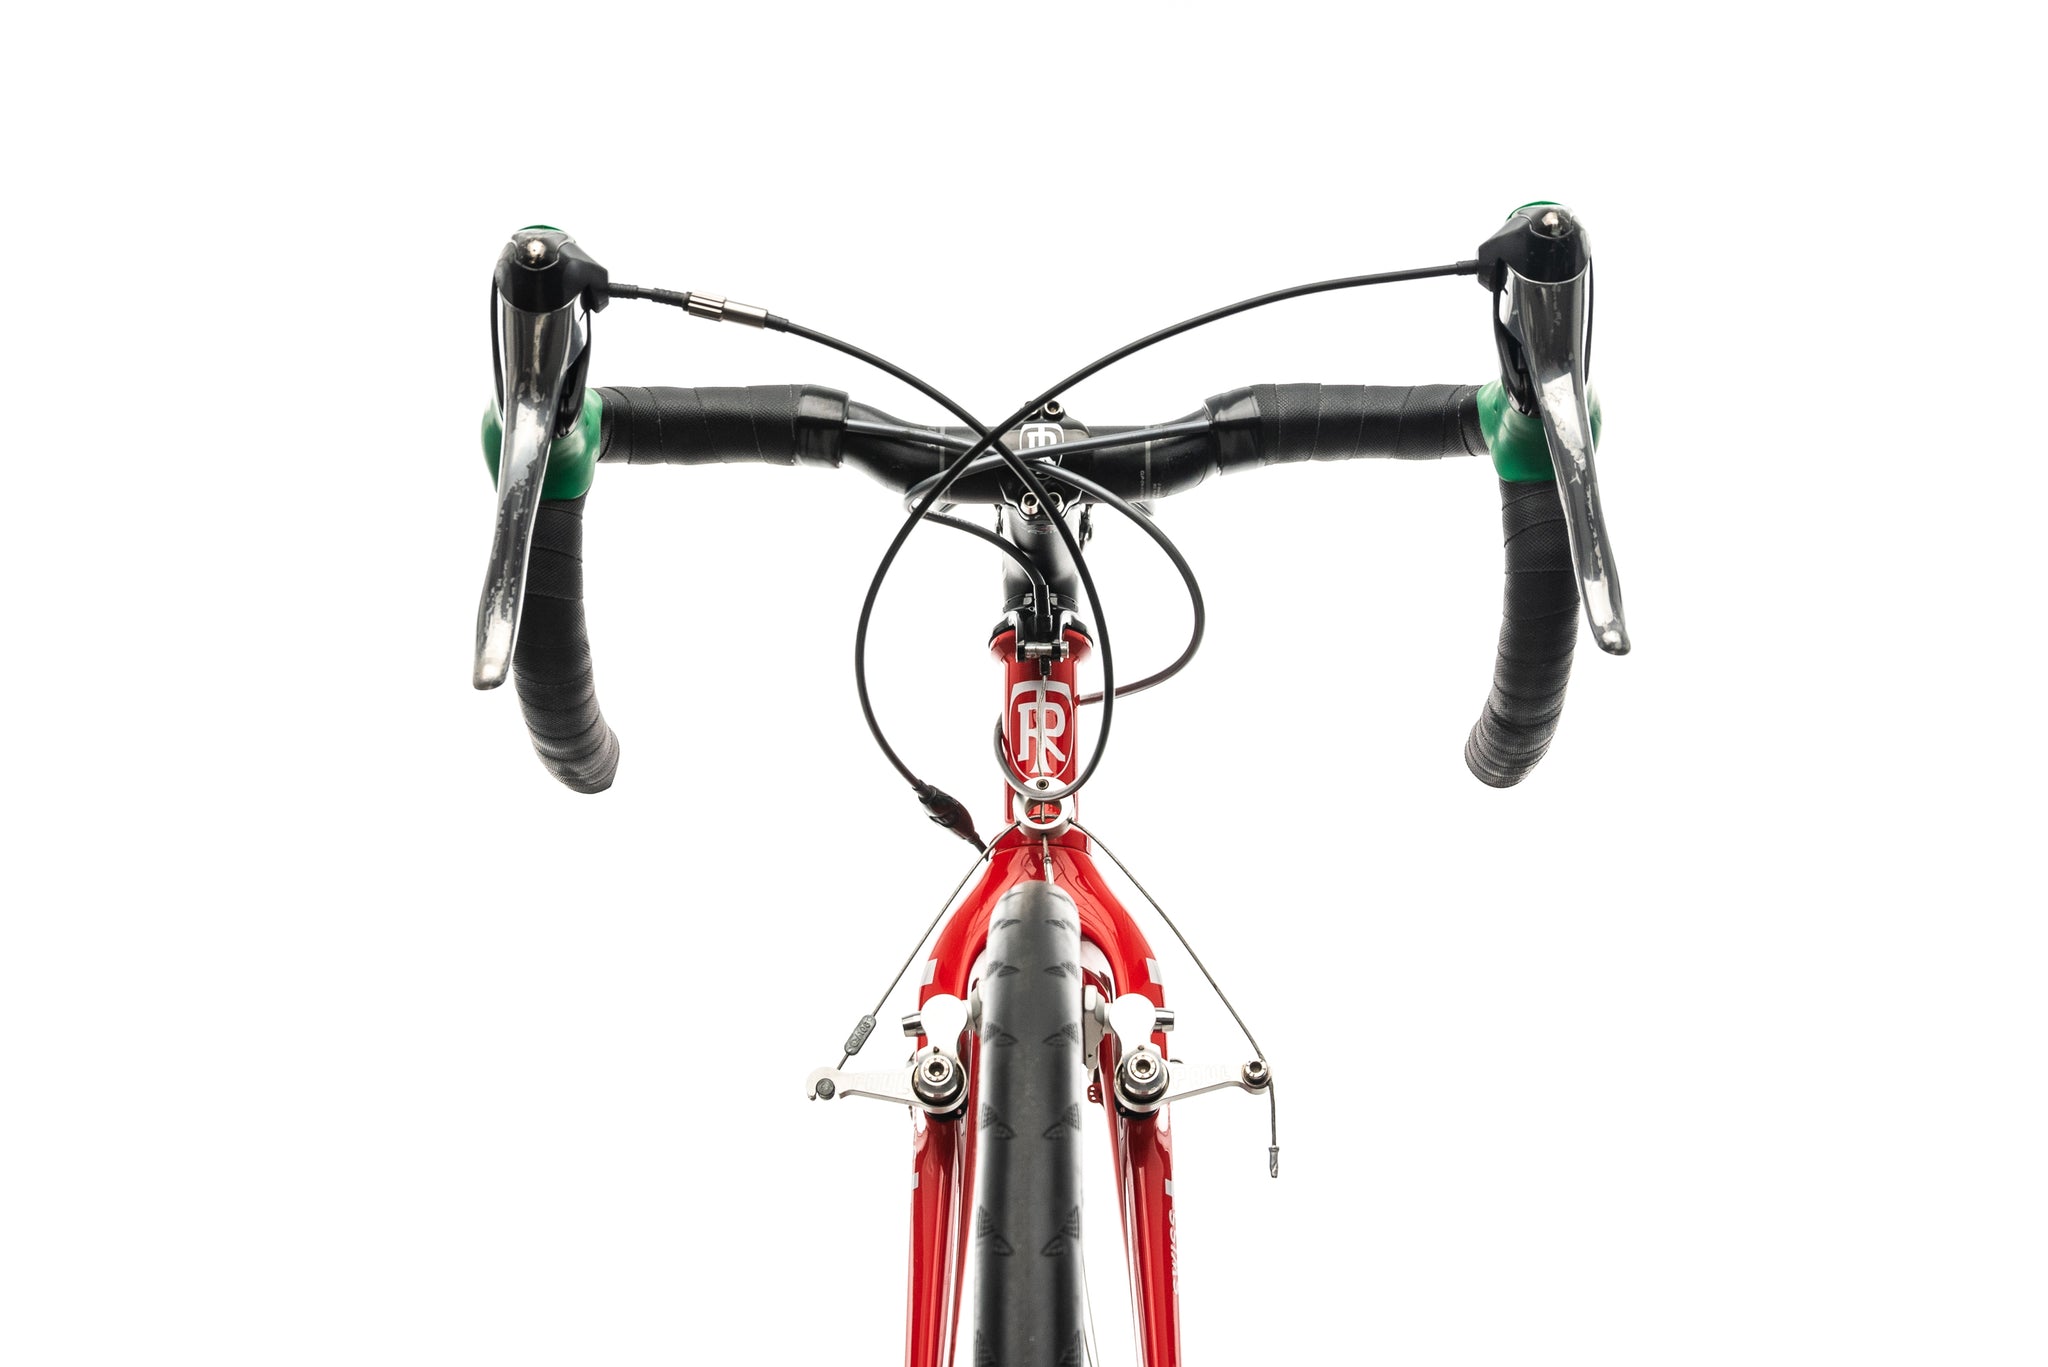
Calipers

A classic bike like this Fat Chance Slim Chance typically has a classic caliper-brake setup.
The word caliper is thrown around a lot and is simply the mechanism that is actuated by the brake lever. But it’s also a specific type of rim brake system and the most common. A caliper brake system is a U-shaped, one-piece unit, mounted to the frame or fork via one mounting hole. They also break down to single-pivot and dual-pivot, which just refers to where the calipers pivot in the mechanism when activated. More powerful dual-pivot calipers are the most common on modern bikes.
Cantilevers
Cantilever brakes like those on this Ritchey Swiss Cross afford more mud clearance and power.
‘Cross is coming! Cantilever-style brakes are found on ‘cross bikes, though due to disc’s superiority in the mud and slush, canti ‘cross bikes are getting rare. The center-pull cantilever system consists of two separate brake arms mounted on each side of the rim. Squeeze your brake levers and the cable is tightened via a center-pull cable to pull each brake arm in unison, pushing the pads against the rim. Cantis offer a one-two punch of greater tire and mud clearance paired with decent braking power.
V-brakes
A sub-set of cantilever brakes, you’ll typically find the V-brake style on city bikes, hybrids, and touring bikes. Just like cantilever, V-brakes are mounted via bosses on the frame at the fork and seat stay and have two individual brake arms. Unlike cantilever, they are direct-pull not center-pull, meaning when the brake lever is squeezed, one arm is pulled toward the rim, while the other is pushed toward the rim. V-brakes give you good stopping power around town and plenty of room for fenders.
SHOP DISC BRAKE ROAD BIKES | SHOP RIM BRAKE ROAD BIKES
How do I choose the right brake type for me?
Think about where you live and the kind of environment you most typically ride in. Live somewhere wet? Race all the time? Hitting gravel like a champ? These questions will help narrow down to your preference of rim brake or disc brake setups. That said, it’s also worth noting that rim brake bikes may soon become a thing of the past, which may influence your decision.
Your next consideration will be budget. While hydraulic disc is more spendy than mechanical, different brands’ offerings — SRAM Force compared to TRP HY/RD disc brakes, for example — will also determine what your wallet can handle. One more factor to consider, regardless of if you’re choosing between rim or disc, mechanical or hydraulic, will be how mechanically savvy you are with some systems easier to maintain than others.
Rim brakes or disc brakes? The former is simpler and lighter, but the latter is modern and more powerful.
Should I use front or rear brakes on my bike?
The answer is: a bit of both, depending on the situation. The biggest thing to remember is that your front brake has the most stopping power, so don’t grab a fistful of front brake without any rear or you’ll be over the bars faster than a pole vaulter at the Olympics. Controlled braking is the key to a graceful and smooth stop or speed-check and is achieved by applying both brakes together. Your rear brake is great for regulating speed when you’re going just a touch too fast, navigating gnarly potholed roads, or in a bad-traction situation, so you might use both brakes but maybe go a touch heavier on the rear in that situation.
Are road bike brake pads universal?
The short answer: no. Shimano brake pads do not work in a SRAM system, for example and vice-versa. Like any kind of mix-and-match McGyverying you might contemplate — and that goes for components like brake levers, too — the best approach is to play it safe and keep it in the family. That means Shimano with Shimano, Campagnolo with Campagnolo, SRAM with SRAM etc.
What accessories do I need?
If you’re a home bike mechanic, your brake-related toolbox should include spare brake pads, extra cables, and a brake bleed kit for your disc brakes. Note that bleed kits are brand-specific, so Shimano bleed tools won’t work with SRAM, for instance. Apart from that, the only accessory you might need on the road is a multitool for road-side caliper adjustments, and your fingers for twisting barrel adjusters on your cables to stop brakes from rubbing or tighten them if your cables have stretched.
How do I know when my brakes need replacing?
Three ways:
1. Through feel while riding. If you notice reduced braking effectiveness, this could be a sign you need to check for pad wear. Does braking seem to take more force than normal?2. By paying attention to noise indicators. Disc rotors are notorious tattletales for worn-out pads (and also will be quite vocal when there’s contamination of the pad). They’ll howl in even dry conditions if they’re getting near the end of life.
3. With visual inspection of the pads. Check your rim brake pads’ wear indicators, which are usually printed on the side of the pads. Checks are fiddlier on a disc brake bike: Take the wheel out of the rim, remove the pads, and measure pad material with a caliper. Typically you want at least 3mm of material.
Remember: It’s easier and cheaper to replace worn disc brake pads than having to replace them AND get new rotors. If you let the pad wear down too far not only you will hear the excruciating sound of metal-on-metal (that’ll be the brake pad backing plate grinding on the rotor) you’ll feel it, too. Don’t ever let brake pads wear this far because you can easily roach rotors this way, too.
When hydraulic disc brakes start to feel a bit spongy or you need to pull the brake lever almost to the bar, this a sign that you need to get a brake bleed.
Conclusion
Brakes are easily the most important feature of a bicycle — they can save your life. But beyond that, they do something else that’s incredibly important. They give you a sense of trust and confidence. Trusting your brakes lets you have more fun on your ride as you exude control, confidently carving corners, in all ride conditions. As a rider, you have to decide for yourself what specific kind of brakes you prefer and tailor your choice to your riding conditions, surfaces, and of course, budget.
Now, do a skid!