
When you fall in love with bikes you'll eventually get bitten by the upgrade bug. Upgrading your bike is fun and addictive. You can make your bike lighter, better handling, cooler looking, or more comfortable. But upgrades are also the quickest way to drain your bank account.
But it doesn’t have to be that way.
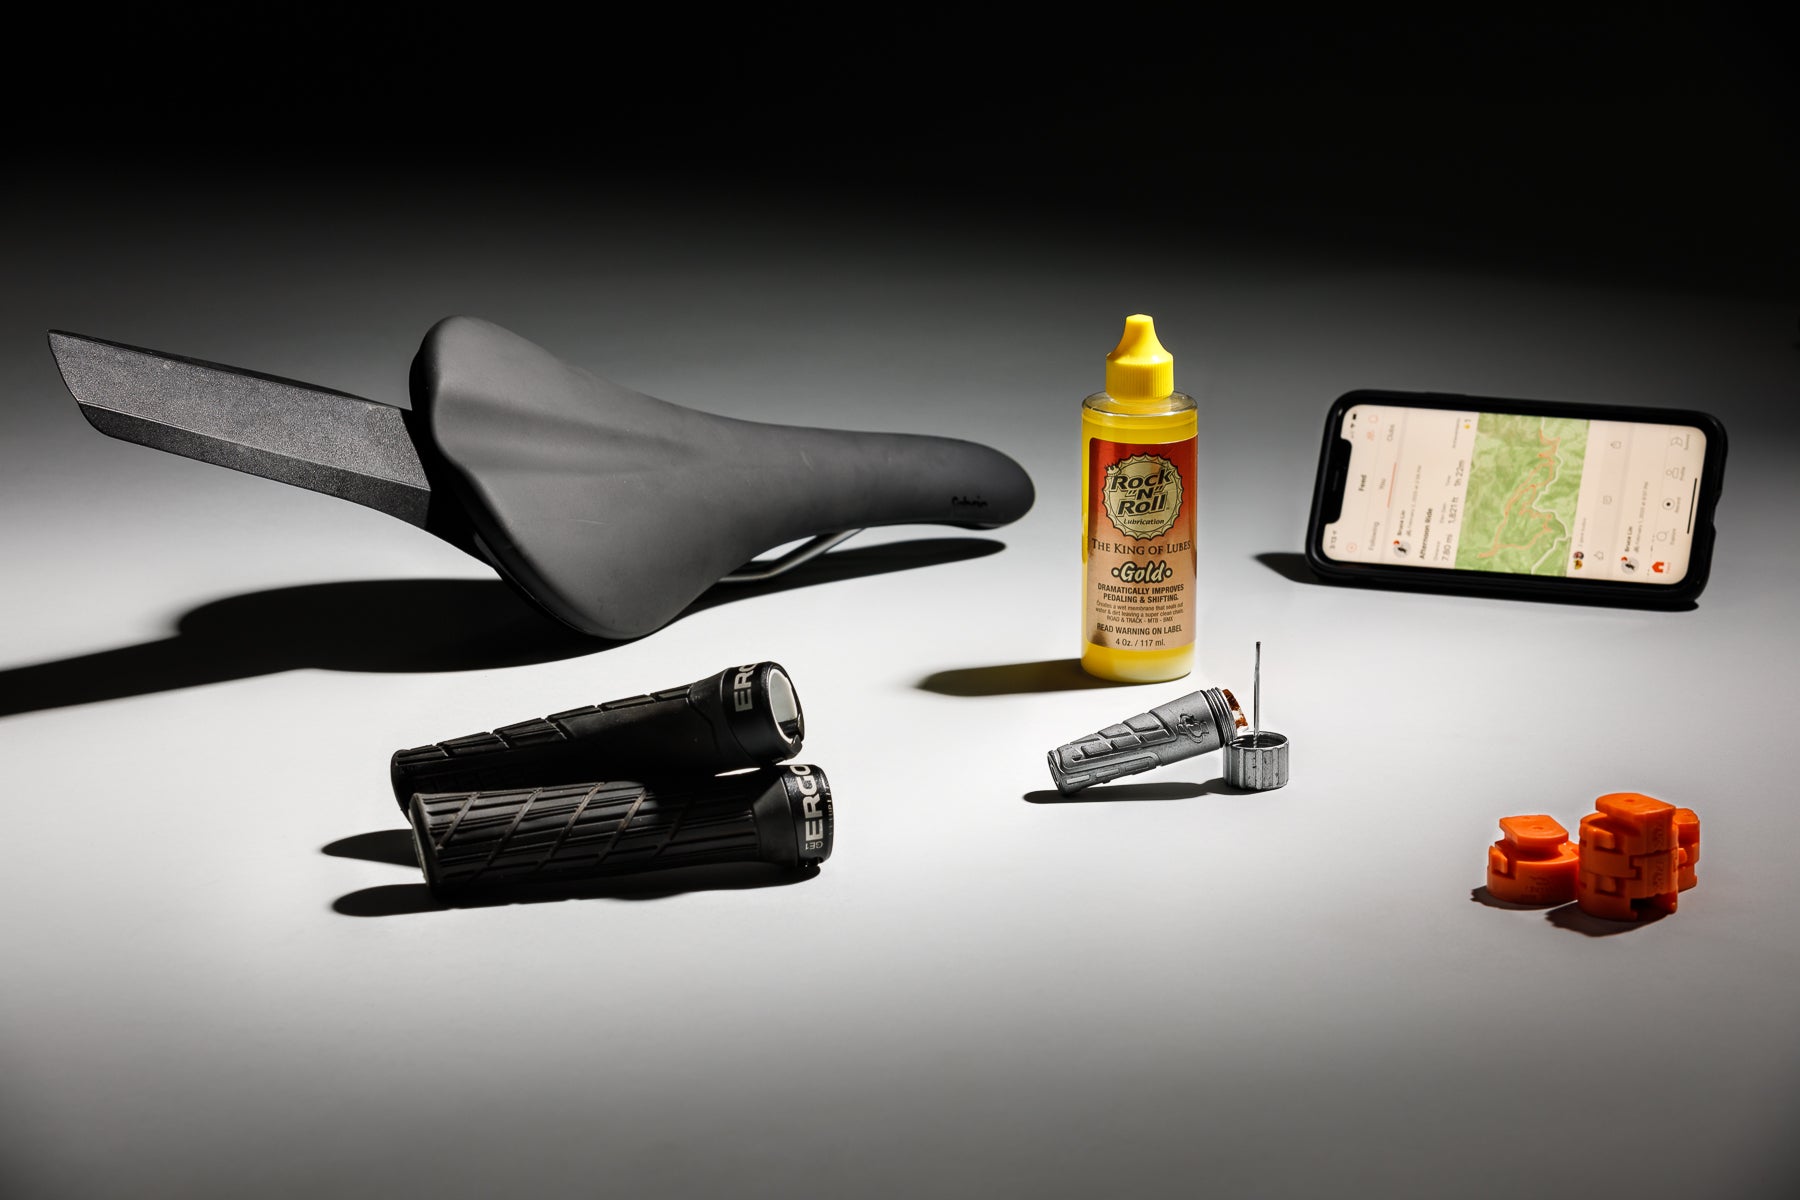 Upgrades don't need to be flashy or expensive. Sometimes the littlest things will make the biggest difference and bring you the most joy. These seven bike products are all cheap, readily available, and easy to use. Even though these upgrades are simple, they can noticeably improve your riding experience.
1. High-quality chain lube
Cost: $8-15
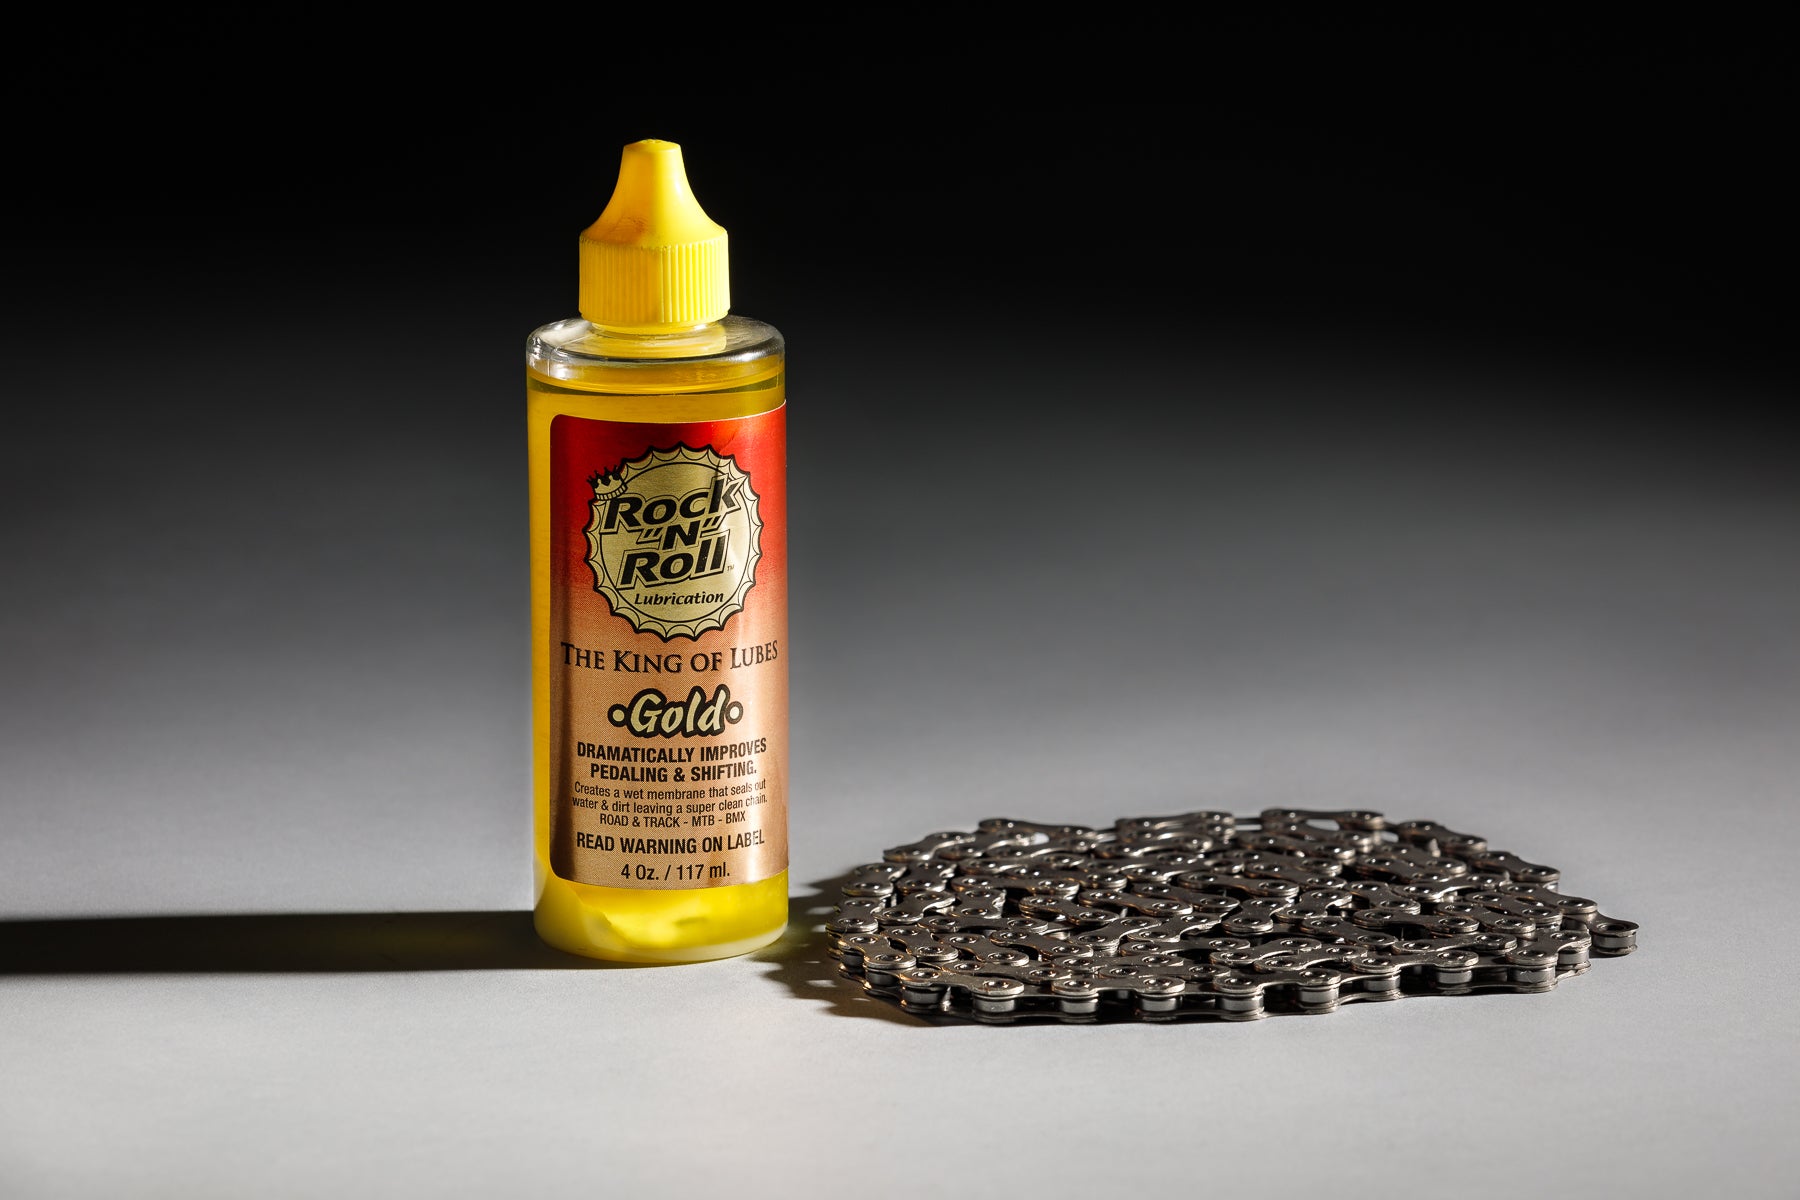 Cleaning and lubing your chain is the most regular bike maintenance you should do on your bike. You want a bicycle-specific chain lube, but all lubes are not created equal. With experience you’ll notice that some lubes don’t lubricate well, stay clean, or last long enough. The worst is getting halfway through your ride and hearing the dreaded squeaking or grinding of a dry, dirty chain. Not only is it annoying, but it can also degrade shifting performance and cause premature wear.
High-quality chain lubes last longer and many are formulated to resist harsh conditions like rain, mud, or dust. This helps keep that horrible black grime from building up on your drivetrain. Good chain lubes also reduce friction in your drivetrain, which will improve efficiency. This can marginally improve your speed or at least make your bike feel faster and smoother.
The holy grail of chain lubes is one that lasts long, stays clean, improves efficiency, is easy to apply, and inexpensive. Ultimately, the better your chain lube is, the less you will notice it when riding or servicing your bike.
Our riders test and use many different lubes, but Dave Rome over at CyclingTips has written an impressively extensive test of several top chain lubes. If you really want to geek out, read his story. For myself, and many of my colleagues, we’ve found Rock “N” Roll Gold to be one of our favorites.
Ask your friends what lube they like because every locale has different nuances that can impact which lubes work, and which don't.
2. Lock-on MTB grips
Cost: $15-30
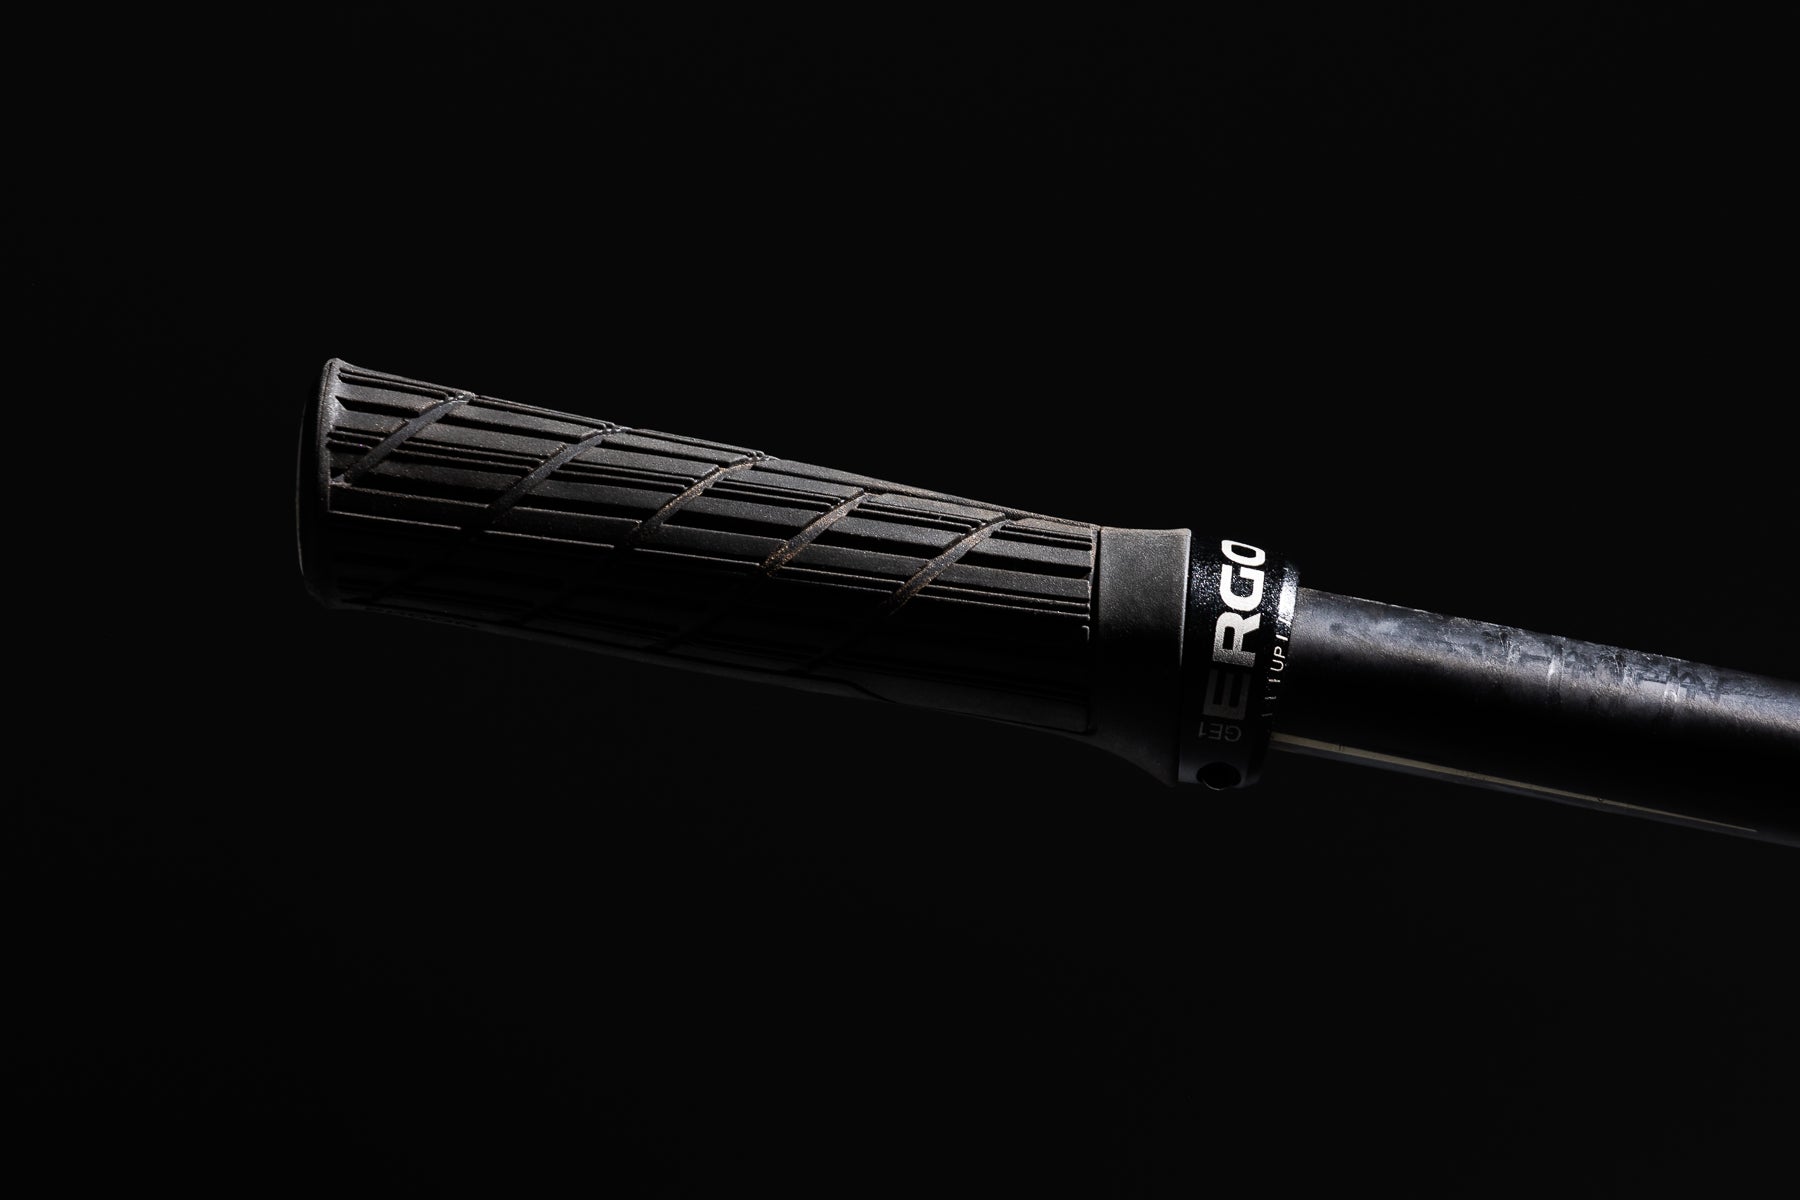 Your touchpoints have a huge influence on how much comfort and control you feel on the bike. You don’t need to settle for the grips that come on your bike. Lock-on mountain bike grips are easy to install, even for riders with little to no mechanical skill. They only require an appropriately sized hex wrench to tighten and loosen the lock-on collar(s).
It is easy to replace lock-on grips when they’re worn, or perform modifications like cutting your handlebars or swapping a brake lever. The lock-on mechanism also secures the grips to the handlebar so they can’t rotate, which is more confidence-inspiring when riding in wet conditions or on rough and technical terrain.
When it comes to choosing the right set of grips, the three traits to consider are diameter, shape, and compound. Diameter varies from thin to thick. Riders with smaller hands tend to prefer thinner grips and larger hands prefer thicker grips, but this comes down to personal preference. I like extra-thin grips because they allow me to get more of my hand around the bar for better control in rough terrain. Some riders prefer thick grips because they reduce vibrations and provide more comfort. 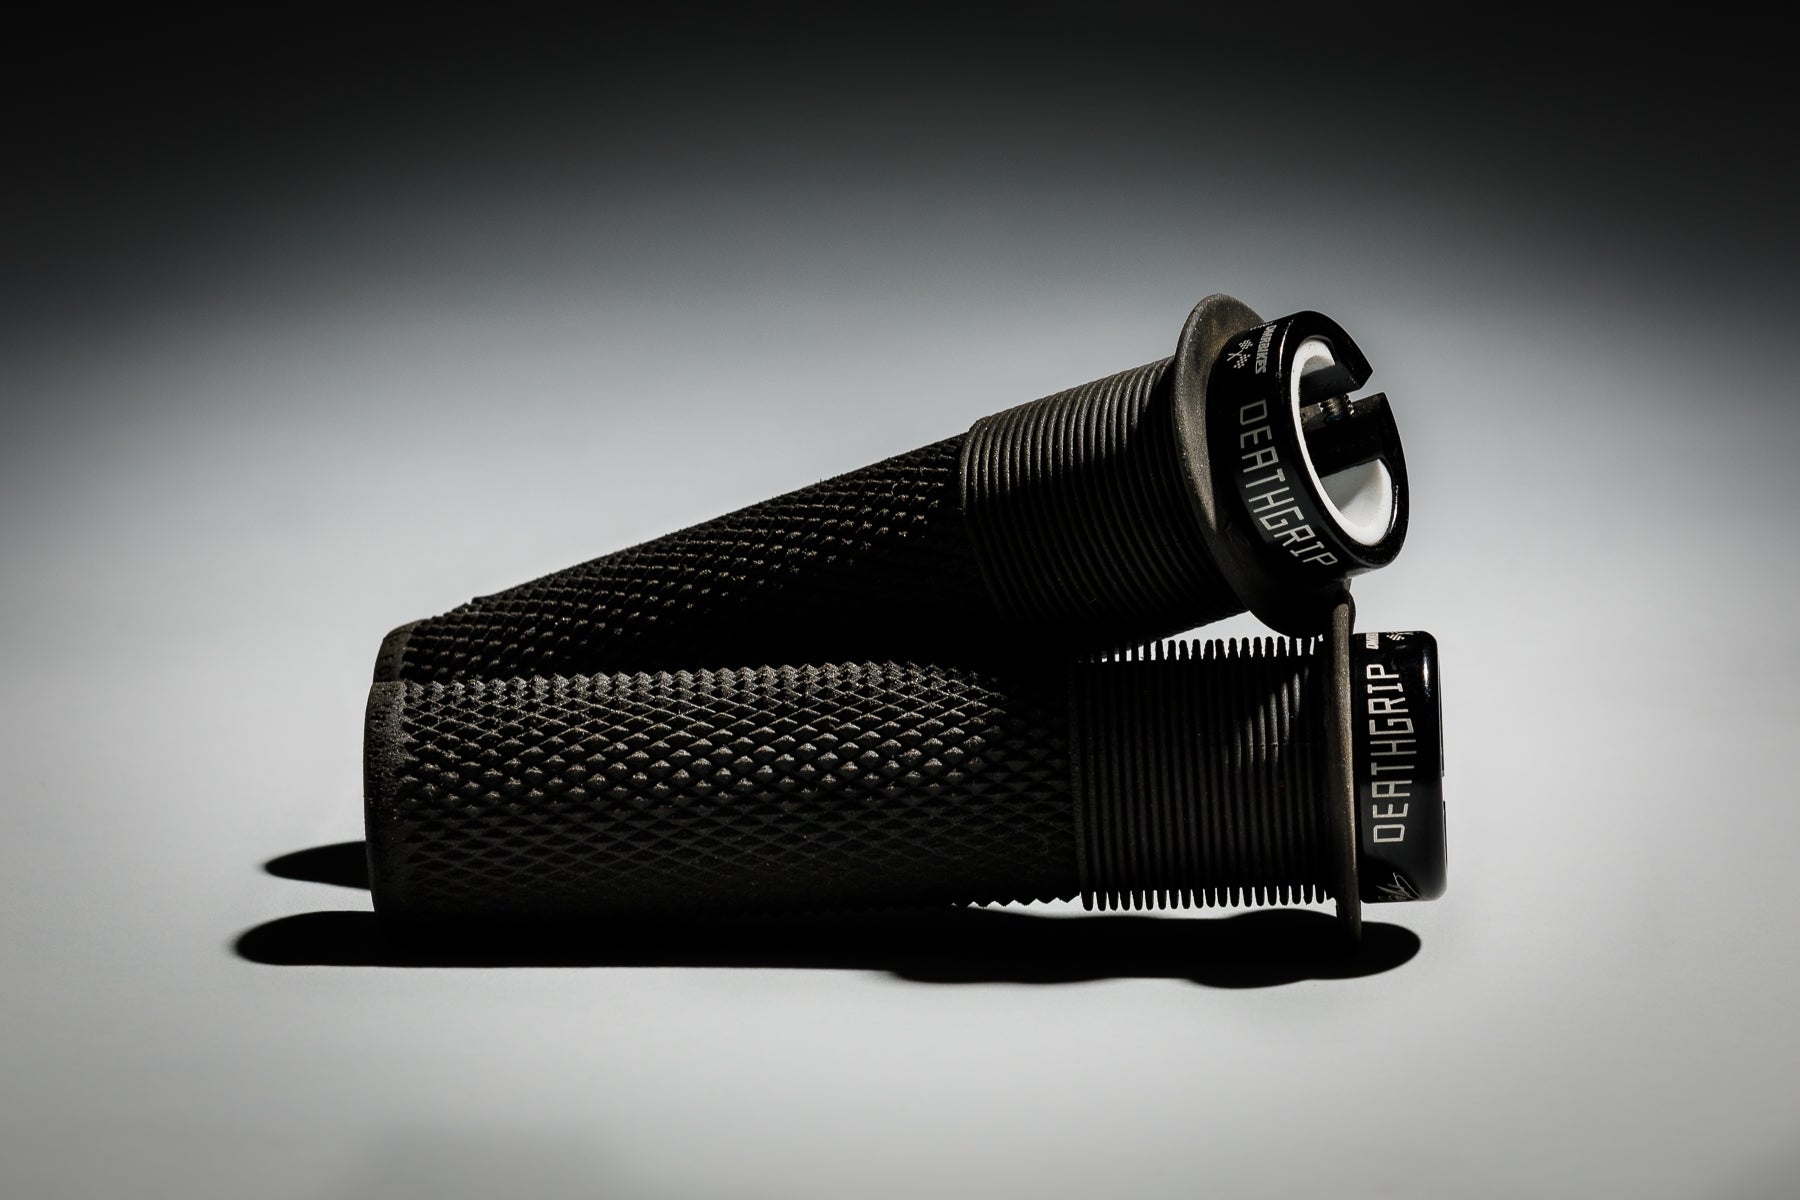 Many brands offer grips that are shaped to fit hands more ergonomically. Two popular examples around our shop are the Ergon GE1 and DMR Deathgrip. The GE1 features a contoured grip shape that better supports the outer edge of your hands. The Deathgrip has a “mushroom” section where the thumb wraps around the grip to increase comfort.
Grip rubber can range from hard to soft compounds. Hard grips are more durable. Softer grips wear faster, but they are tackier and can enhance confidence in rough terrain. Ergon offers many of their grips like the GE1 in a Factory rubber compound which is much softer than the standard compound.
3. Tire plug kit
Cost: $7-15
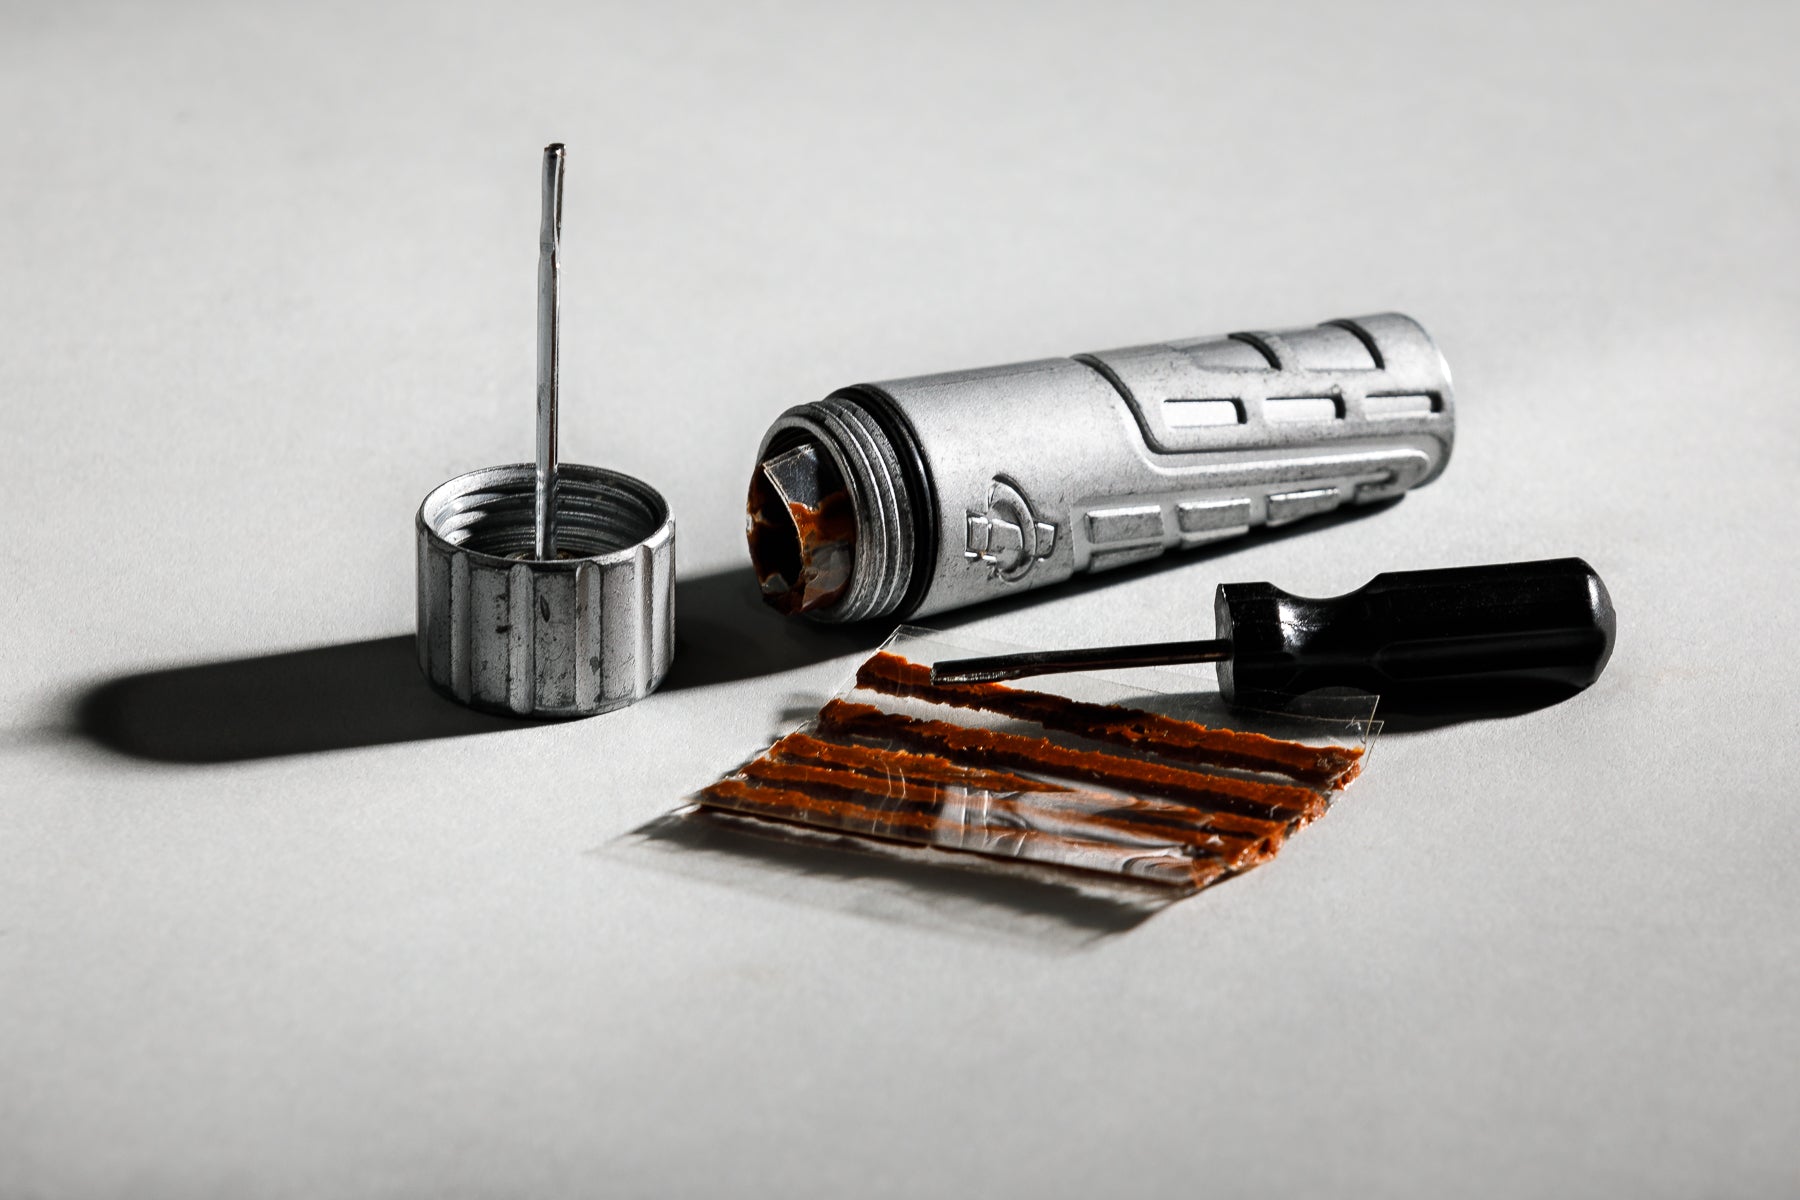 This isn’t technically an upgrade for your bike. But tire plugs are a solid upgrade to your emergency repair kit, allowing you to quickly repair a tubeless tire puncture without a tube. They work on any tubeless road, gravel, or mountain bike tire. There’s no more wasting valuable riding time fumbling with tubes (but I still carry one just in case).
Plugs are strips of tough, vulcanized butyl rubber that are inserted into punctures with a plug tool. They instantly seal the hole so you can continue riding. For large holes, multiple plugs can be used. Plugs are a permanent fix and can be left in the hole for the remainder of the tire’s life.
Genuine Innovations' "Side of Bacon" plugs are inexpensive and easy to use. The kit comes with a small screwdriver-like tool for inserting the plugs. For a little bit extra you can get the Tubeless Tackle Kit which stores the tool and lid in a stout, waterproof, aluminum case. The Stan’s NoTubes Dart tool is a new, easy-to-use option that has a different plug designed to work with Stan’s NoTubes sealant. If you want to spend more on something truly fancy, Dynaplug offers kits starting around $60.
4. Side-load bottle cages
Cost: $10-25
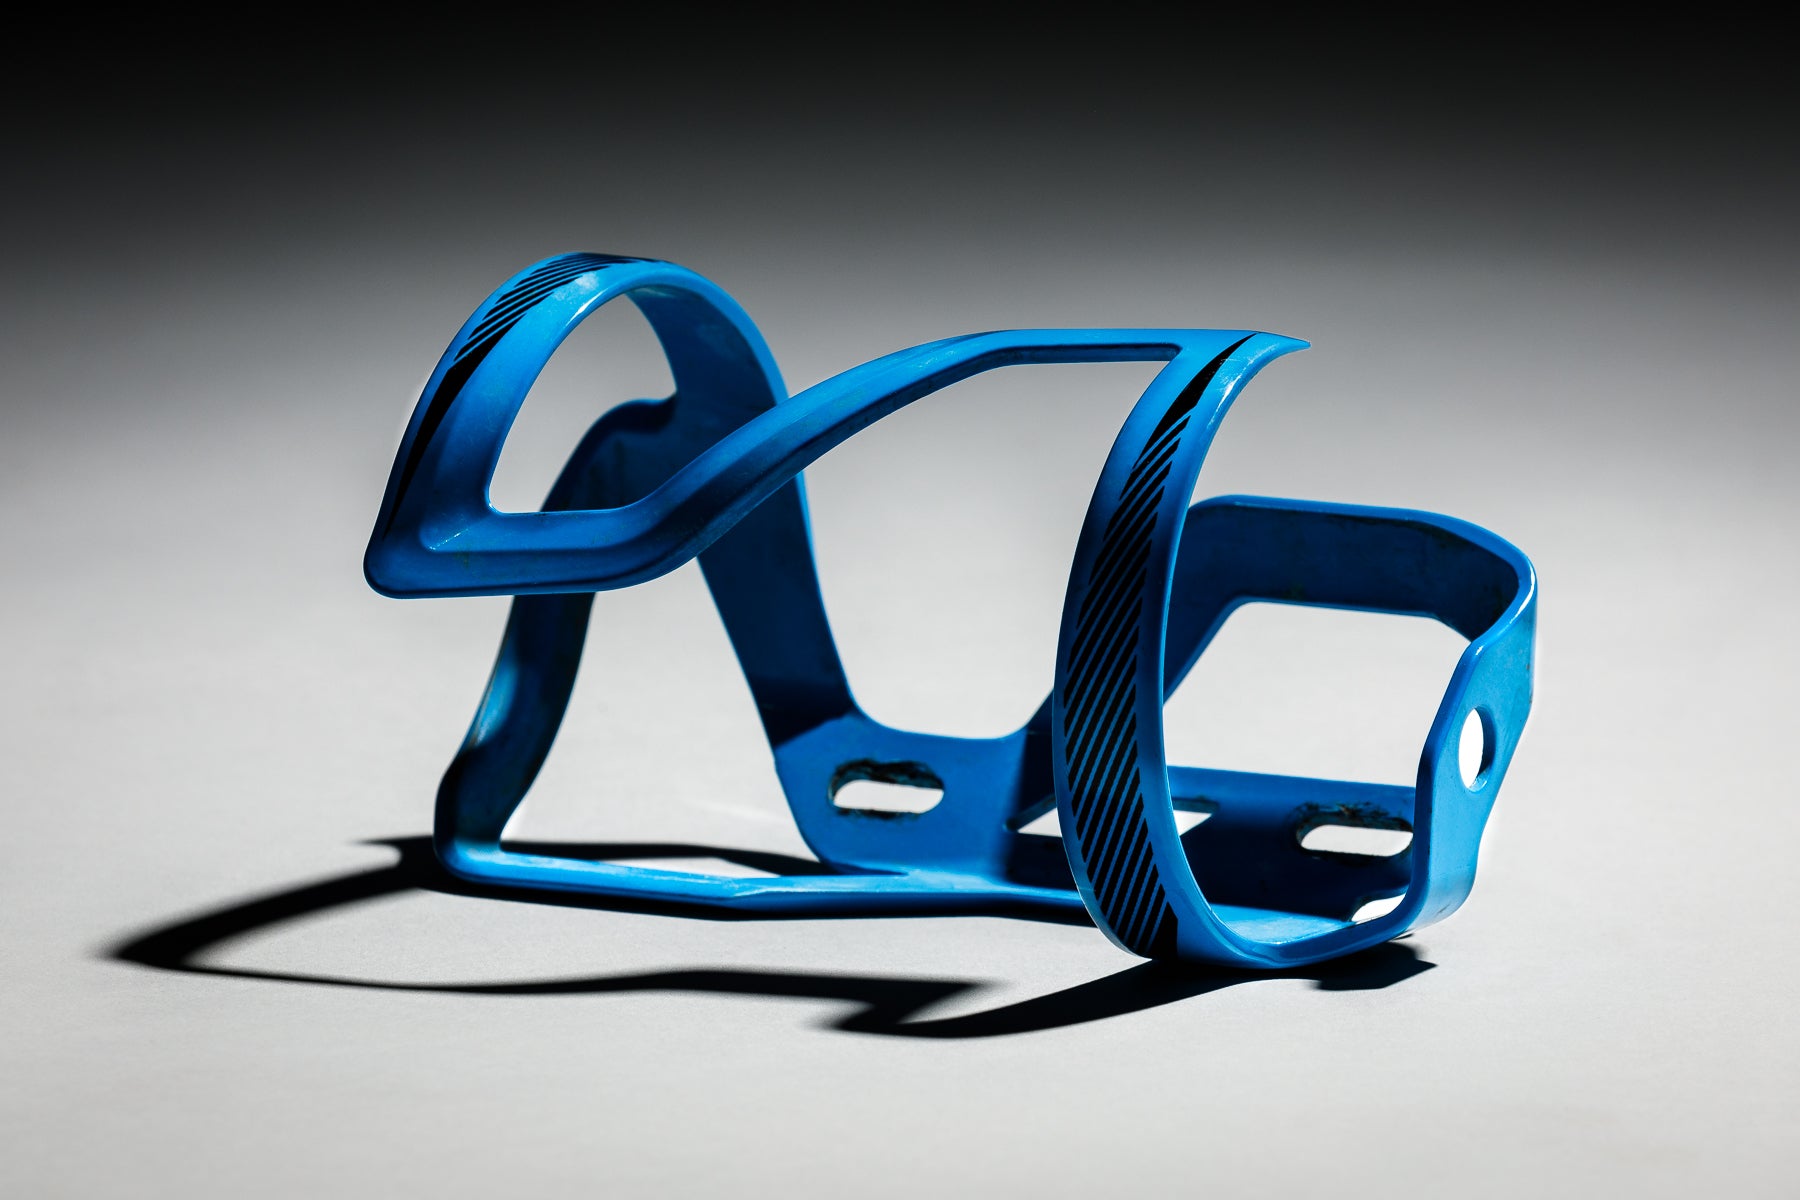 For many, the only criteria for buying a bottle cage was that it holds a bottle. But there’s more to it than that if you care about how it holds a bottle. I’m a shorter rider, so I ride smaller frames. Often, these smaller bike frames interfere when you're pulling bottles straight out of traditional cages. This has also been an issue with mountain bikes that have more space constraints due to low top tubes, rear shocks, and suspension linkages.
Rather than fight against my bike every time I need a drink, side-load bottle cages offer an elegant solution. Their design allows me to pull my bottle out at an angle away from my frame, not just straight up like a traditional metal cage. I like them so much I use them on all my bikes, even if they aren’t necessary. The most popular cage used in our shop is the Specialized Zee Cage, but many brands make side-load cages. Choose whatever style, color, and price suits your needs.
Note that side-load cages are either right- or left-specific. If you have a preference or a frame that is constrained in a particular way, be sure to choose the correct orientation when purchasing.
5. Volume spacers
Cost: $2-20
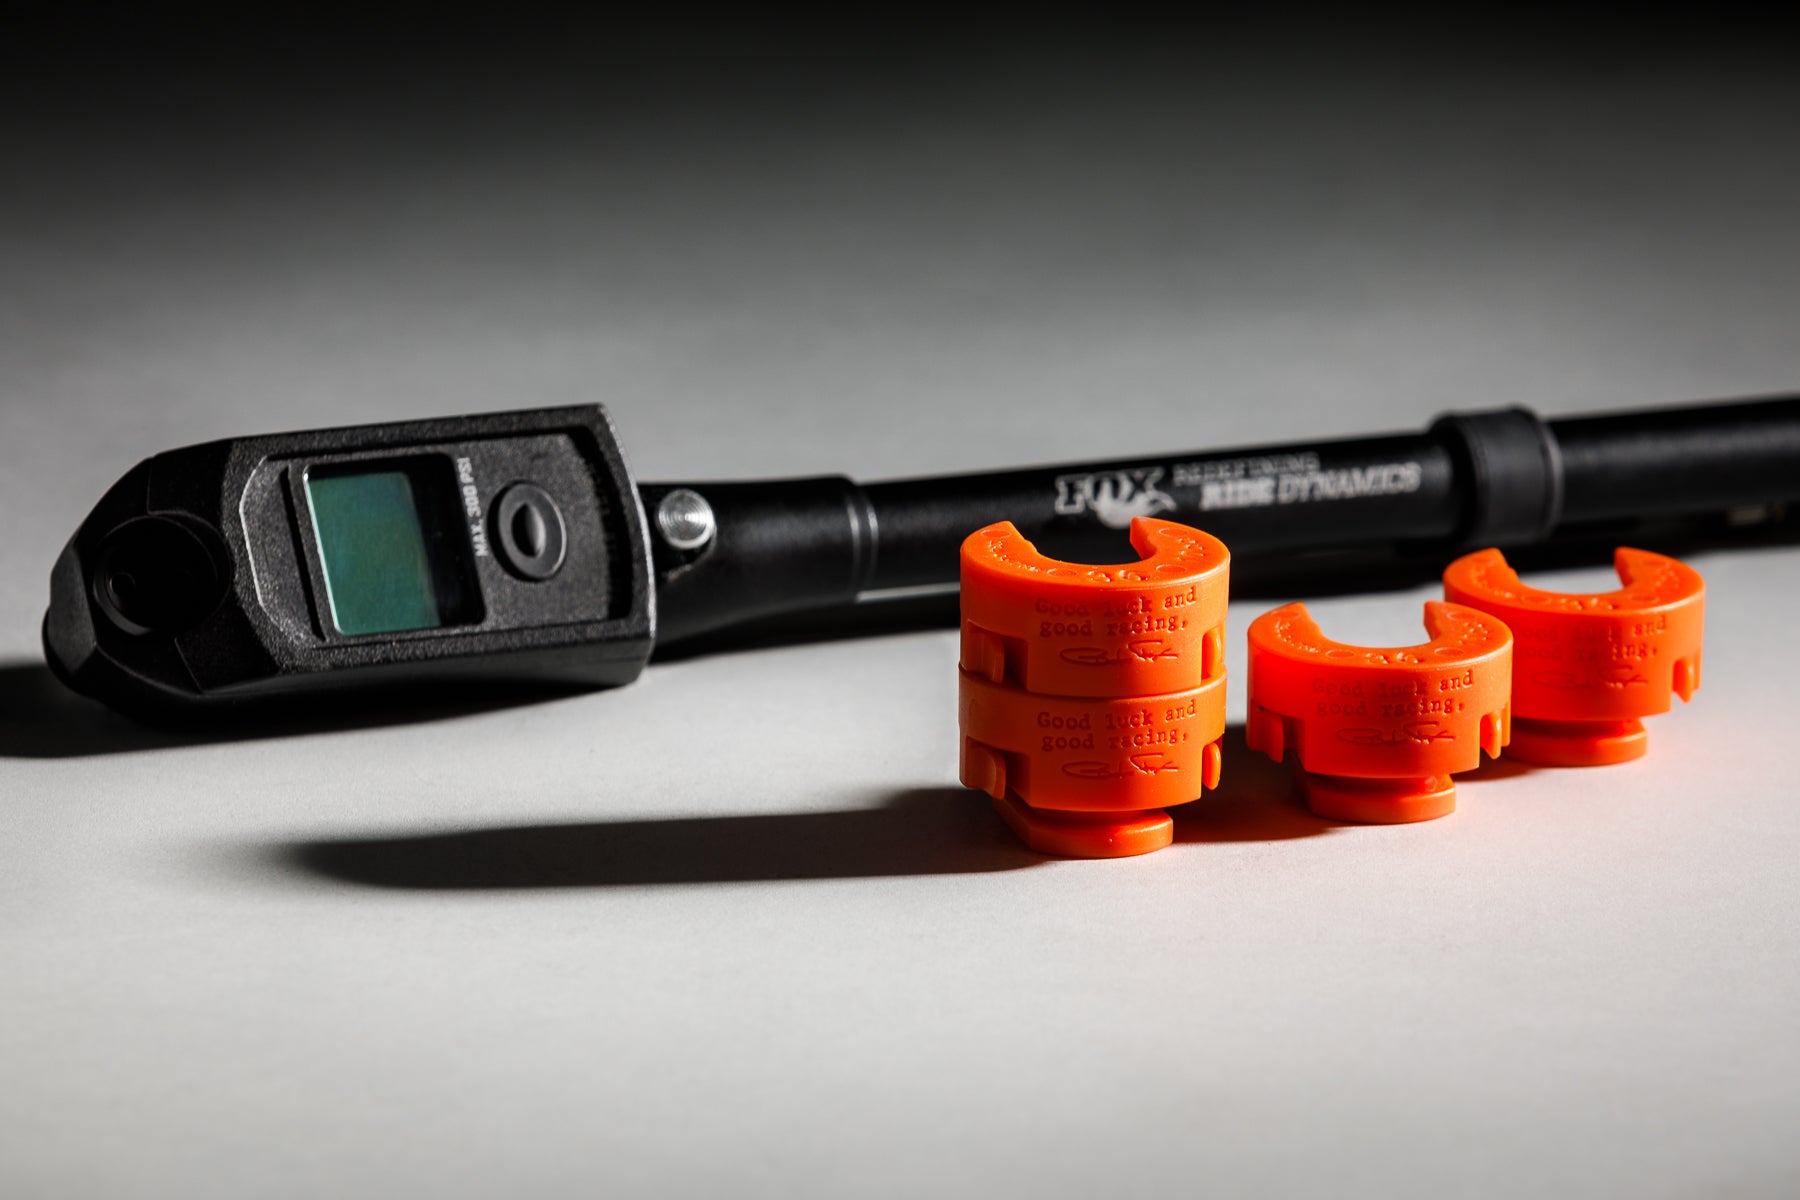 Tuning mountain bike suspension can feel like black magic. But it's worth the effort to perfect your bike's handling. Once you've dialed-in your sag and damping settings, the air volume is the next tuning variable. This can be adjusted with a few simple volume spacers.
Most suspension forks and shock use an air spring. The air pressure you use controls how soft or firm it feels. This air pressure should generally be set to achieve the correct suspension sag.
There are cases where you have set your air pressure or sag correctly, but you still have issues bottoming out your suspension on hard hits. You can add more air to prevent this, but it will make your suspension feel harsher. If you’re happy with the pressure of your current set-up, you can turn to volume spacers. Spacers are easy to insert into your suspension to reduce the air volume. Reducing air volume increase the amount of “ramp up” at the end of the suspension stroke. This increases the force needed to bottom out without compromising the top-end suppleness.
Some riders add volume spacers because they ride more aggressively or hit big drops and jumps. Adding more spacers can give you extra confidence and support by keeping your suspension from bottoming out harshly. Because they ramp up the end of the suspension stroke, they also allow you to run lower air pressures for a more comfortable ride.
Conversely, if you’re having trouble using your suspension’s full travel, check to make sure there aren’t volume spacers installed. Many forks and shock come with spacers installed from the factory. You can remove spacer to more easily utilize the full range of your suspension's travel.
6. Mucky Nutz fenders
Cost: $5-12
 I always struggle between utility and vanity with my bikes. Take clip-on fenders, for example. They’re extremely useful when the roads or trails I’m riding are wet. However, I find them to be quite ugly. I hate riding with a wet butt, but bulky clip-on fenders ruin the aesthetics of my beloved bikes. If there’s a chance I might encounter puddles or wet sections of road, it's always a minor crisis for me.
Enter the Mucky Nutz fender. This is a simple and cheap plastic fender that attaches to your saddle rails. It weighs nearly nothing and doesn’t spoil the sporty lines of my bike. It keeps my butt clean and dry for the most part. I like these so much I actually leave them on my bike for the entire winter and spring riding season. If it’s actually raining, I still put on my clip-on fenders. For everything else, the Ass Saver can handle it.
Other brands make similar fenders but they are all essentially the same design. If you want a touch more personalization there are plenty of options with colorful and unique designs.
7. Strava
Cost: Free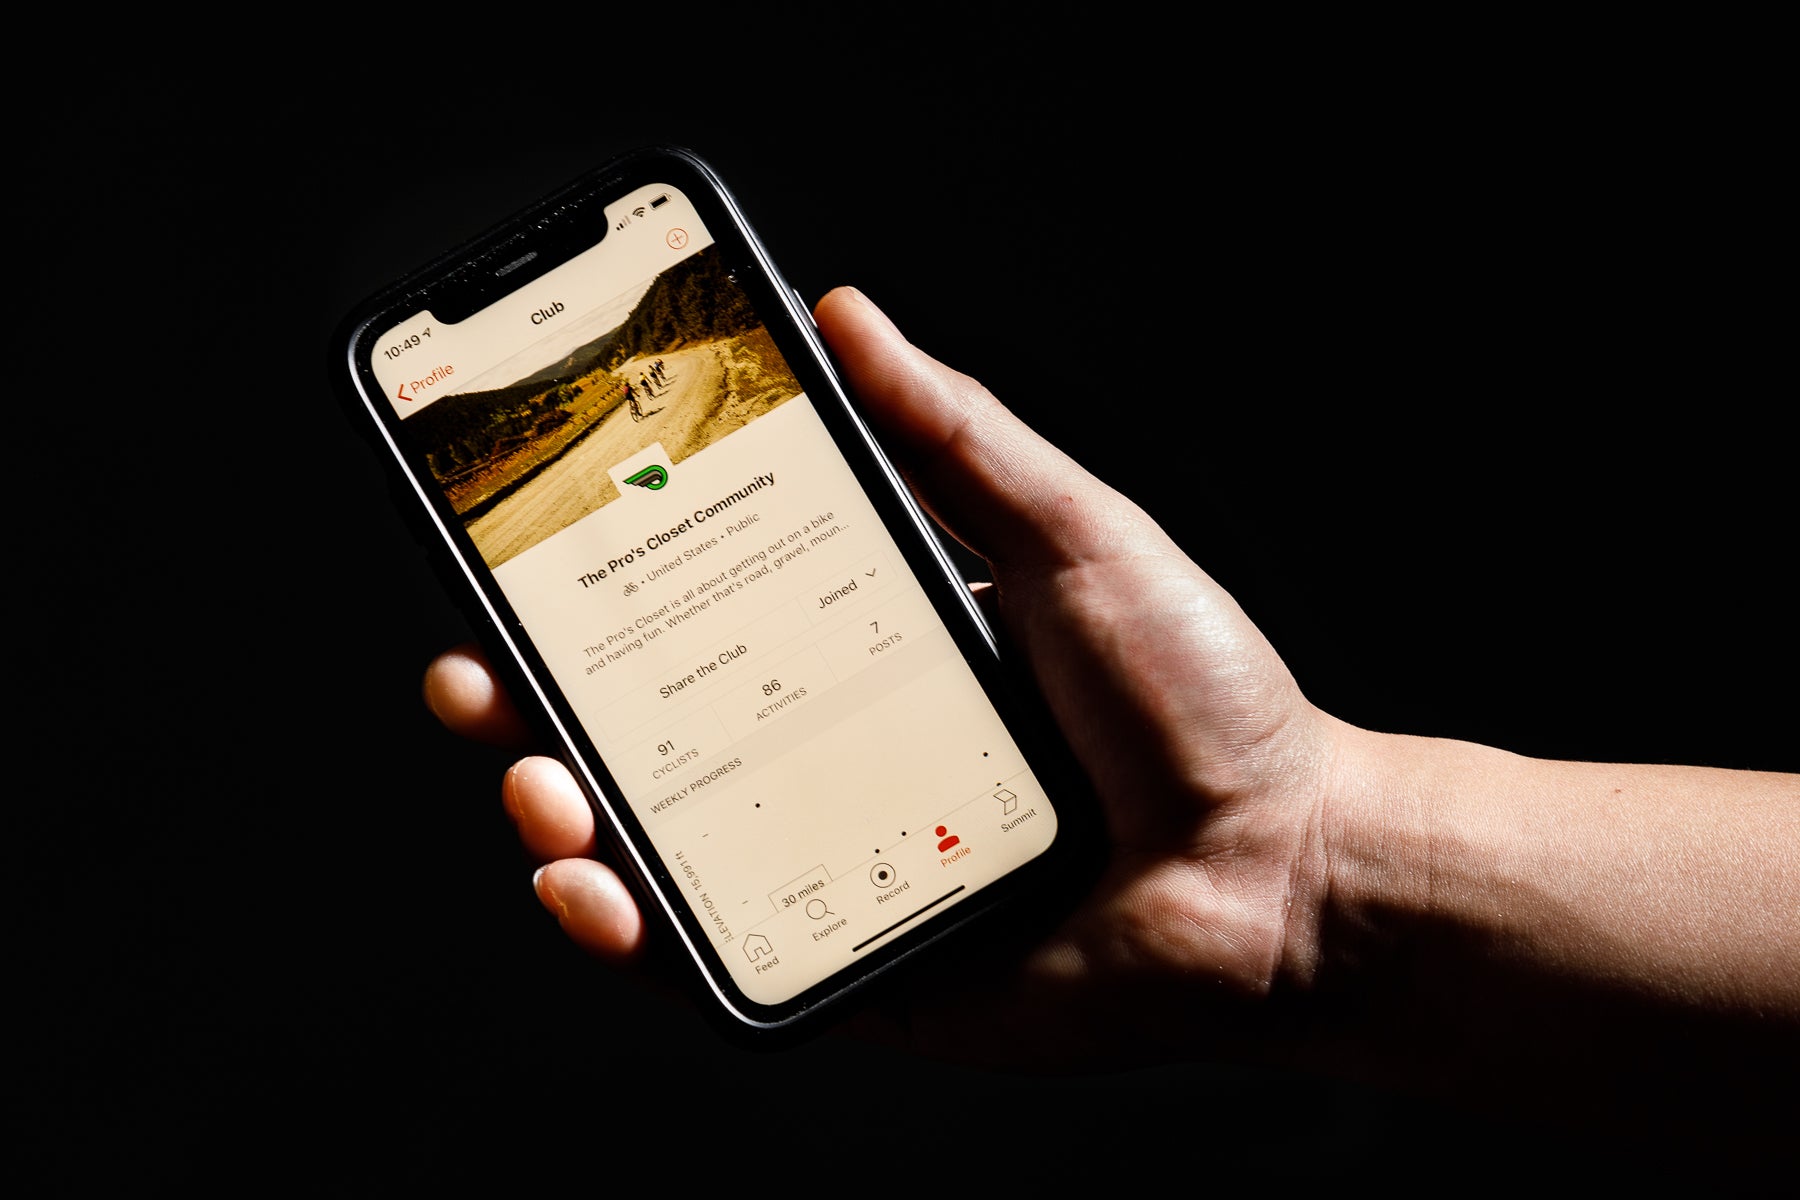 Join The Pro's Closet Community club on Strava to see what our community of riders is doing.
Like tire plugs, it’s hard to call a phone-based app an upgrade for your bike. But many cyclists now post every ride on Strava. Love it or hate it, Strava has become monolithic. It has fundamentally changed riding in the 21st century. Now you can track your rides and share them with a passionate community. If you’re trying to get fitter or faster, it’s an invaluable tool for tracking your mileage. Striving for new personal bests on timed segments or simply seeing your friends' rides can be a huge motivation.
Features like segment explorer and heat map help you find new roads, trails, and routes to explore on your next ride. Some riders even use Strava’s tracking features to monitor the wear on their bikes and components.
Of course, it can be very healthy to go device-free from time to time. Many of the criticisms laid against Strava are similar to what you’ll find for other social media platforms. There’s nothing wrong with unplugging to just enjoy the act of riding.
For me though, every time I try to leave Strava, it pulls me back in. The ability to track my riding and compare with my friends has greatly improved my performance and motivation. As long as you know that the world doesn’t revolve around your Strava PRs or KOMs, and we’re all just riding for fun, it can be a great addition to your experience.
Have you used any of these cheap upgrades? What good upgrades did we miss? Let us know in the comments!