
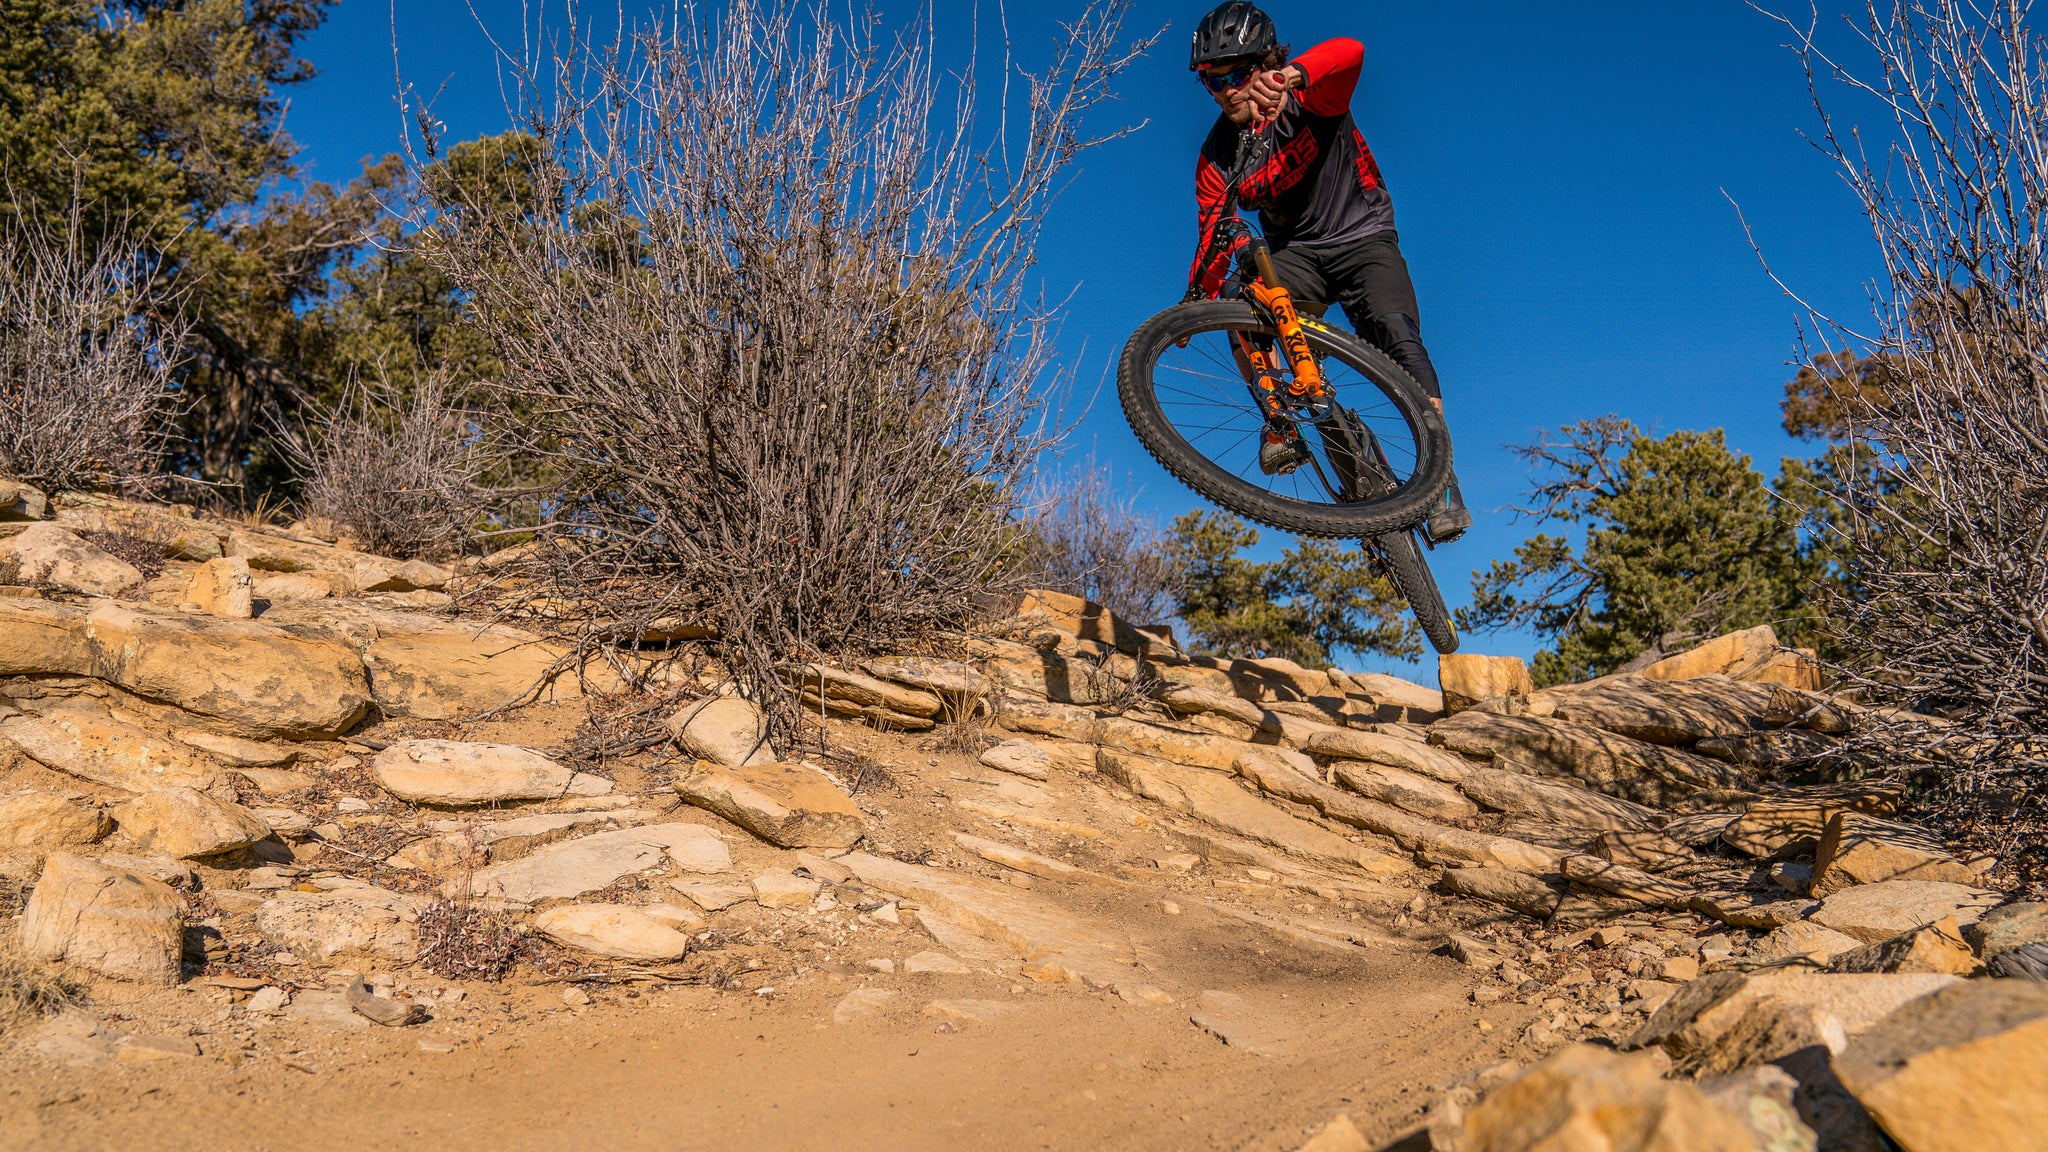
The move to tubeless tires is one of the best improvements in bike technology over the past decade. Tubeless technology has become the standard for mountain and gravel bikes, and it is slowly becoming more common in road cycling. We are winning the war on flat tires.
That's why many bikes at The Pro’s Closet come equipped with tubeless-compatible wheels and tires and some are even set up tubeless for your convenience.
There is a small learning curve to tubeless set-ups, but don't let that stop you from ditching tubes and riding with fewer flats. We went to the experts at Stan’s NoTubes to explain tubeless technology, the benefits of tubeless tires, and how you can easily set up and maintain a tubeless system on your own bicycle. 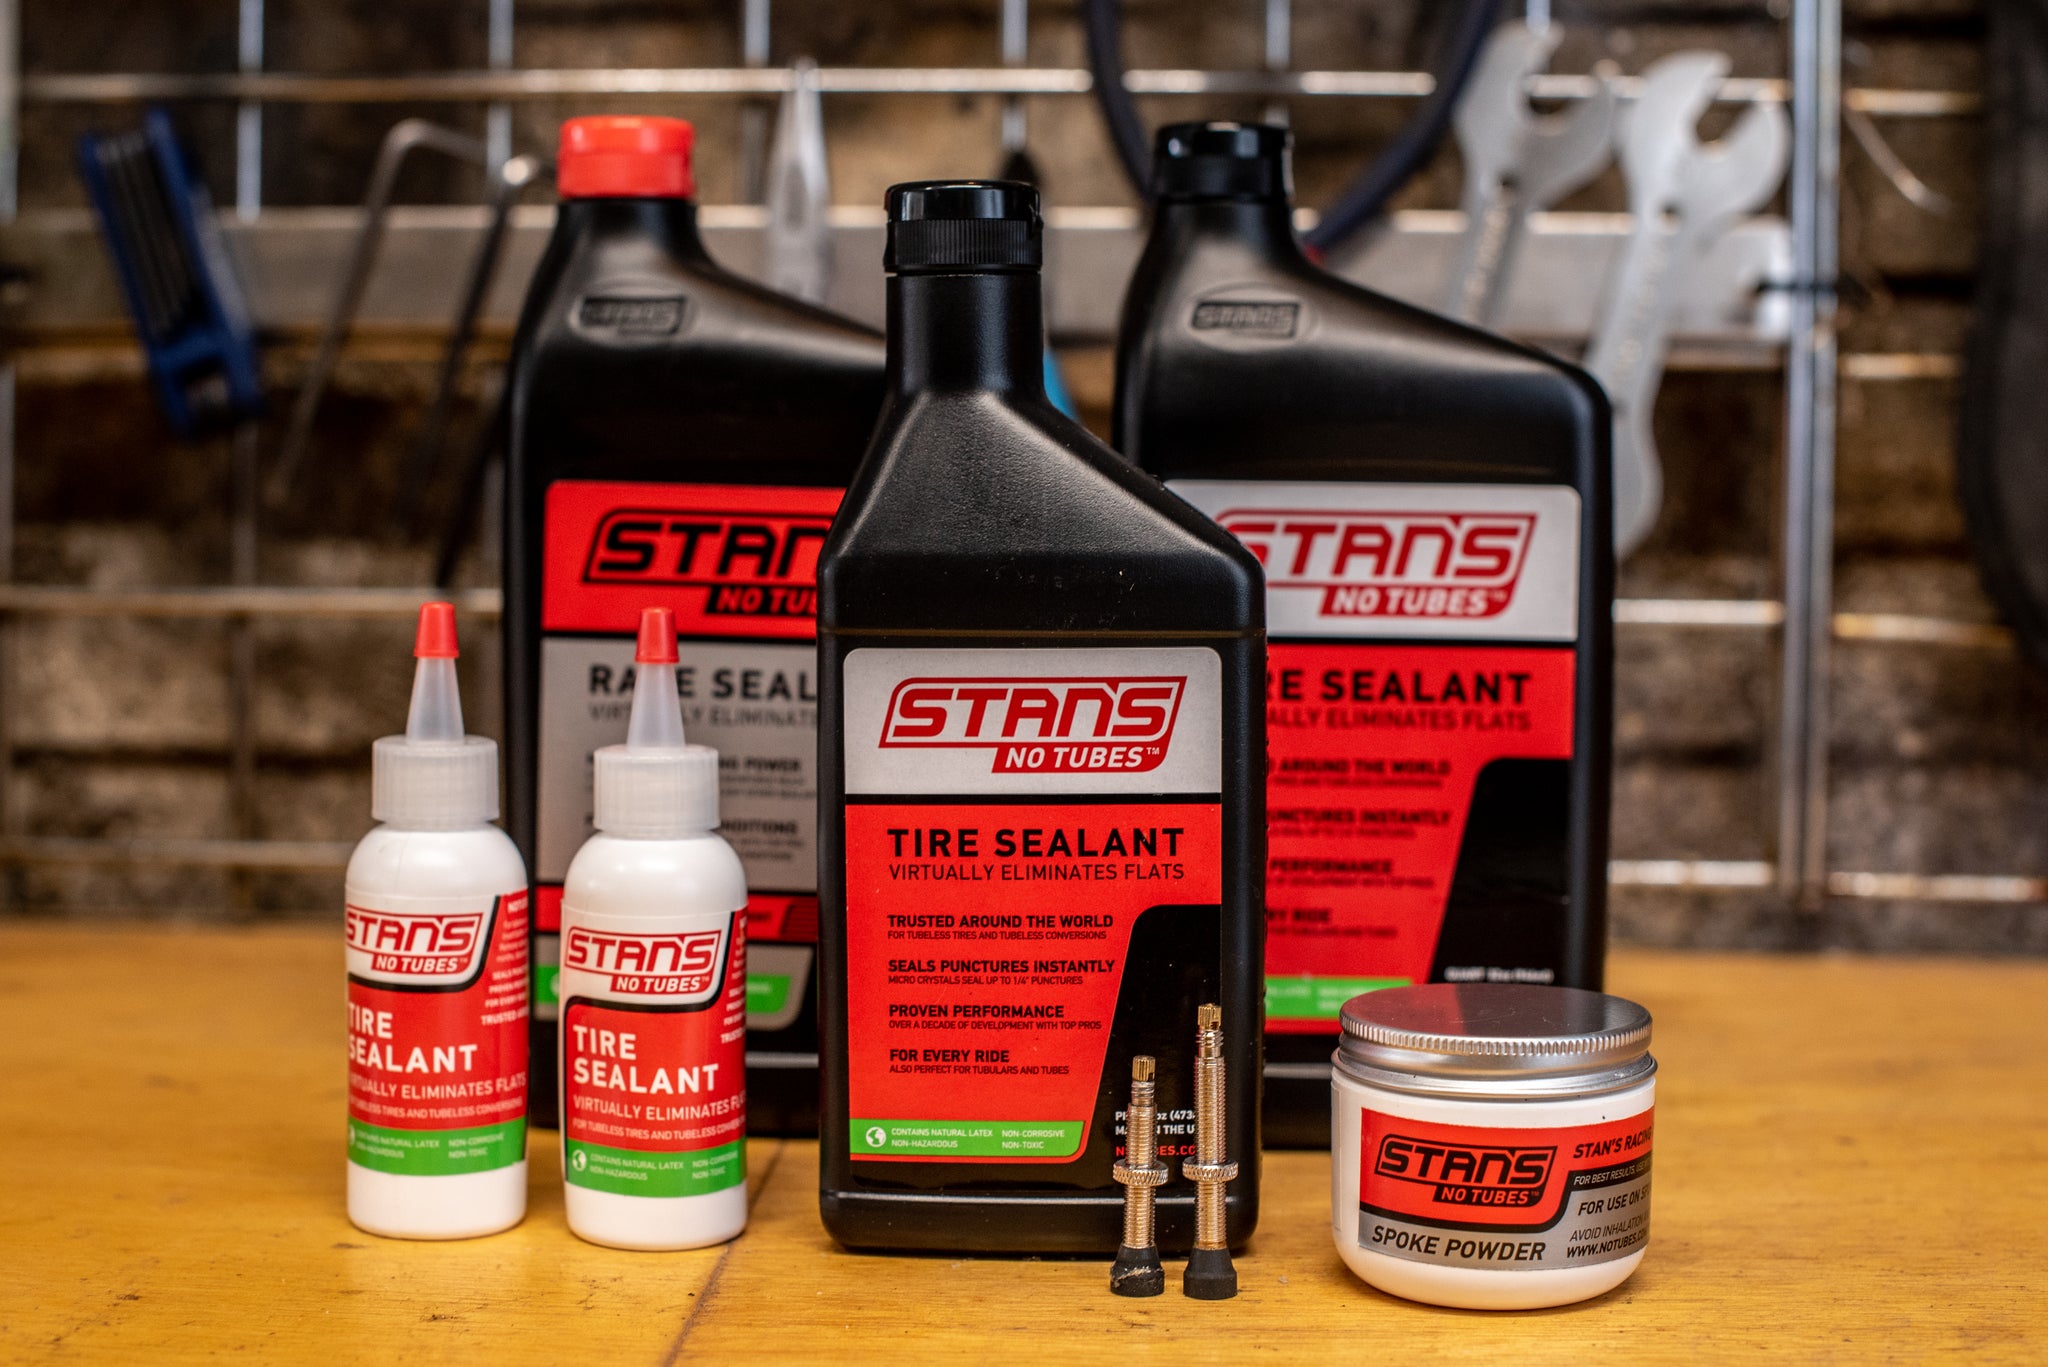
Contents
- What is tubeless?
- Why you should consider tubeless
- What are tubeless-compatible wheels and tires?
- Setting up and maintaining your tubeless system
- What to do if you get a flat during a ride
- Troubleshooting
What is tubeless?
 Most riders are familiar with the traditional clincher system that uses an inner tube. For decades, it has been the most common system for inflating bike tires. Traditional clincher tires are not airtight. Air is contained inside a rubber or latex inner tube with a valve for inflation. When inflated, the inner tube pushes the tire bead against the rim walls, securing the tire. This system is simple to maintain and use, even for novice mechanics.
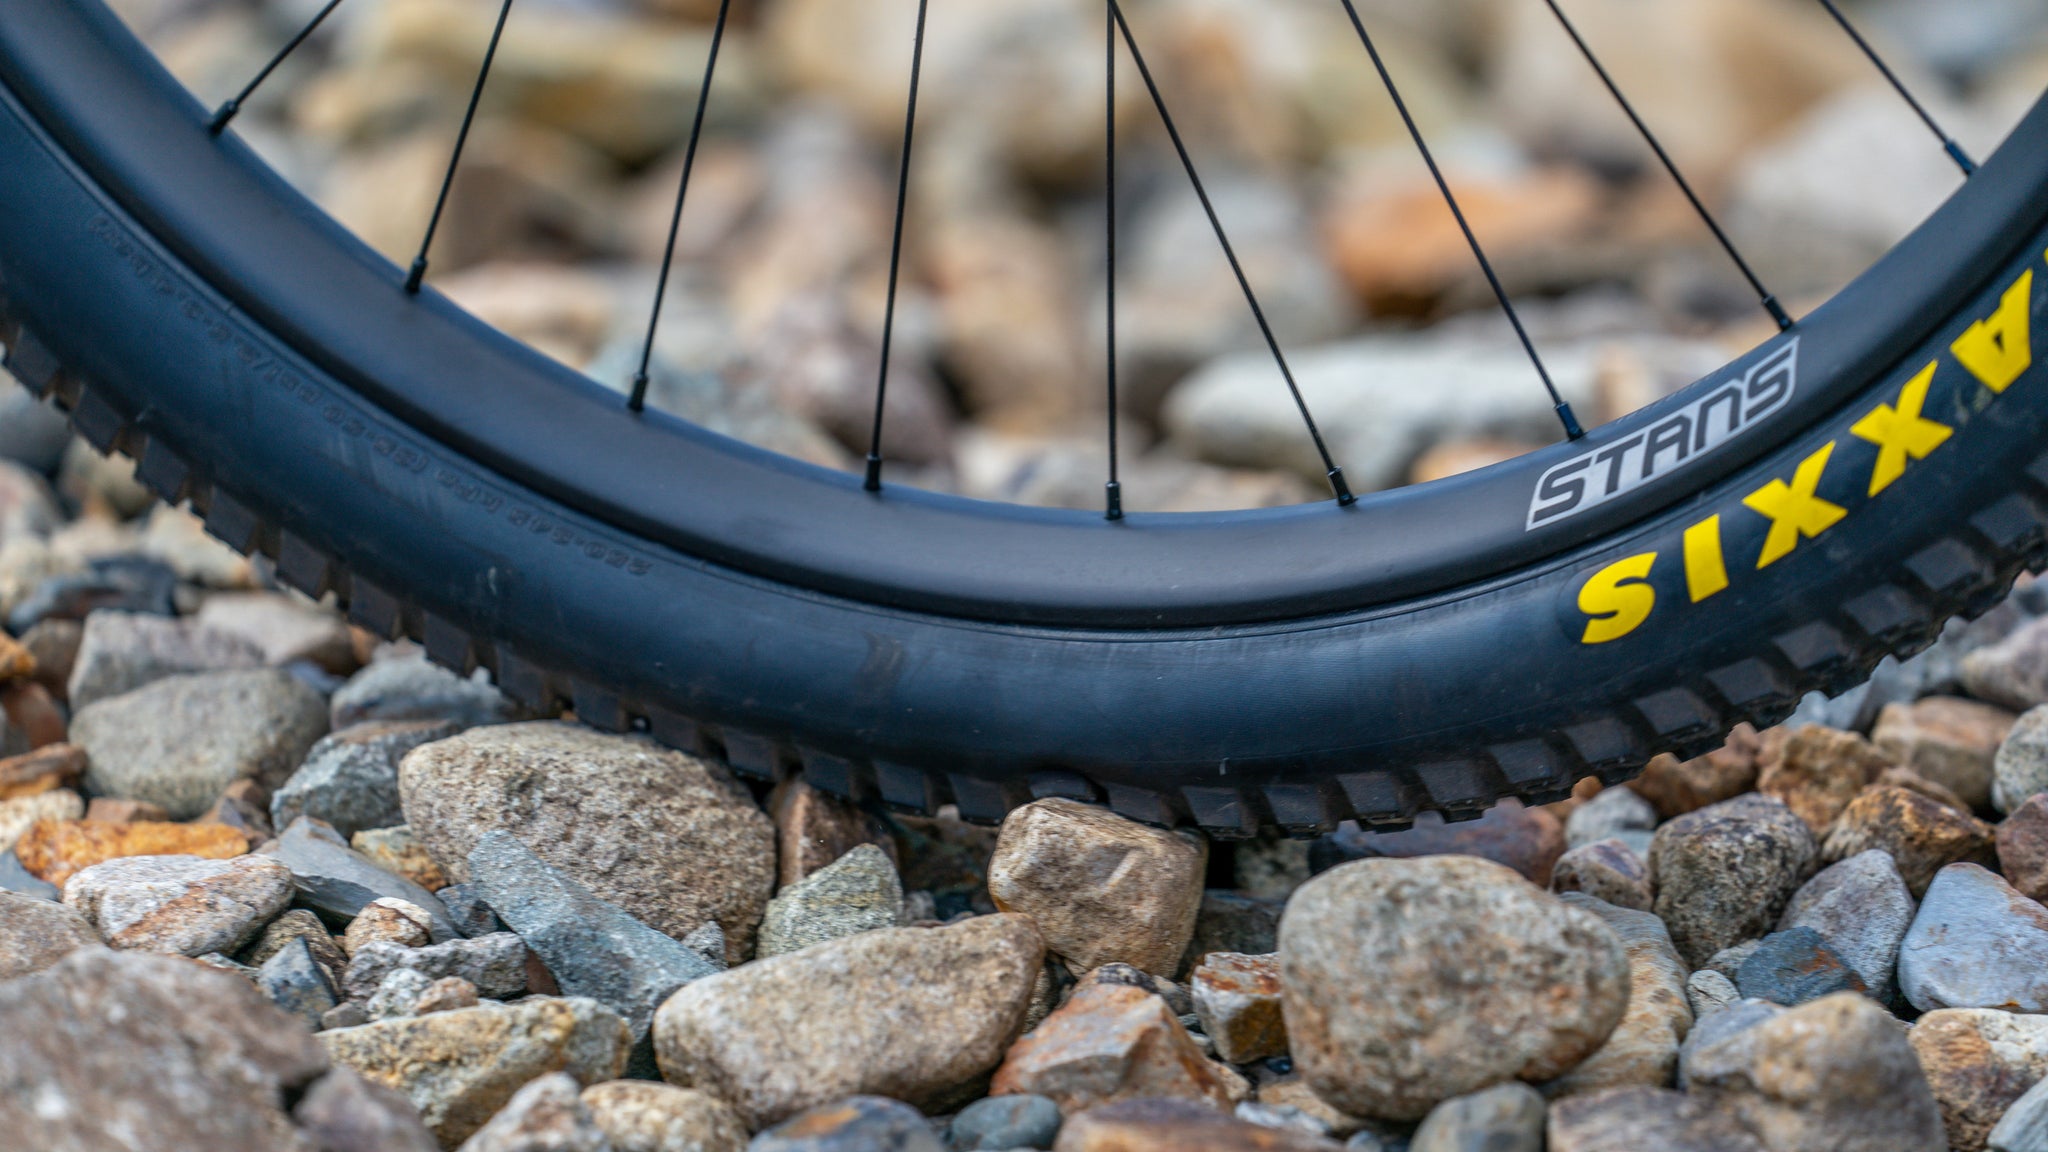
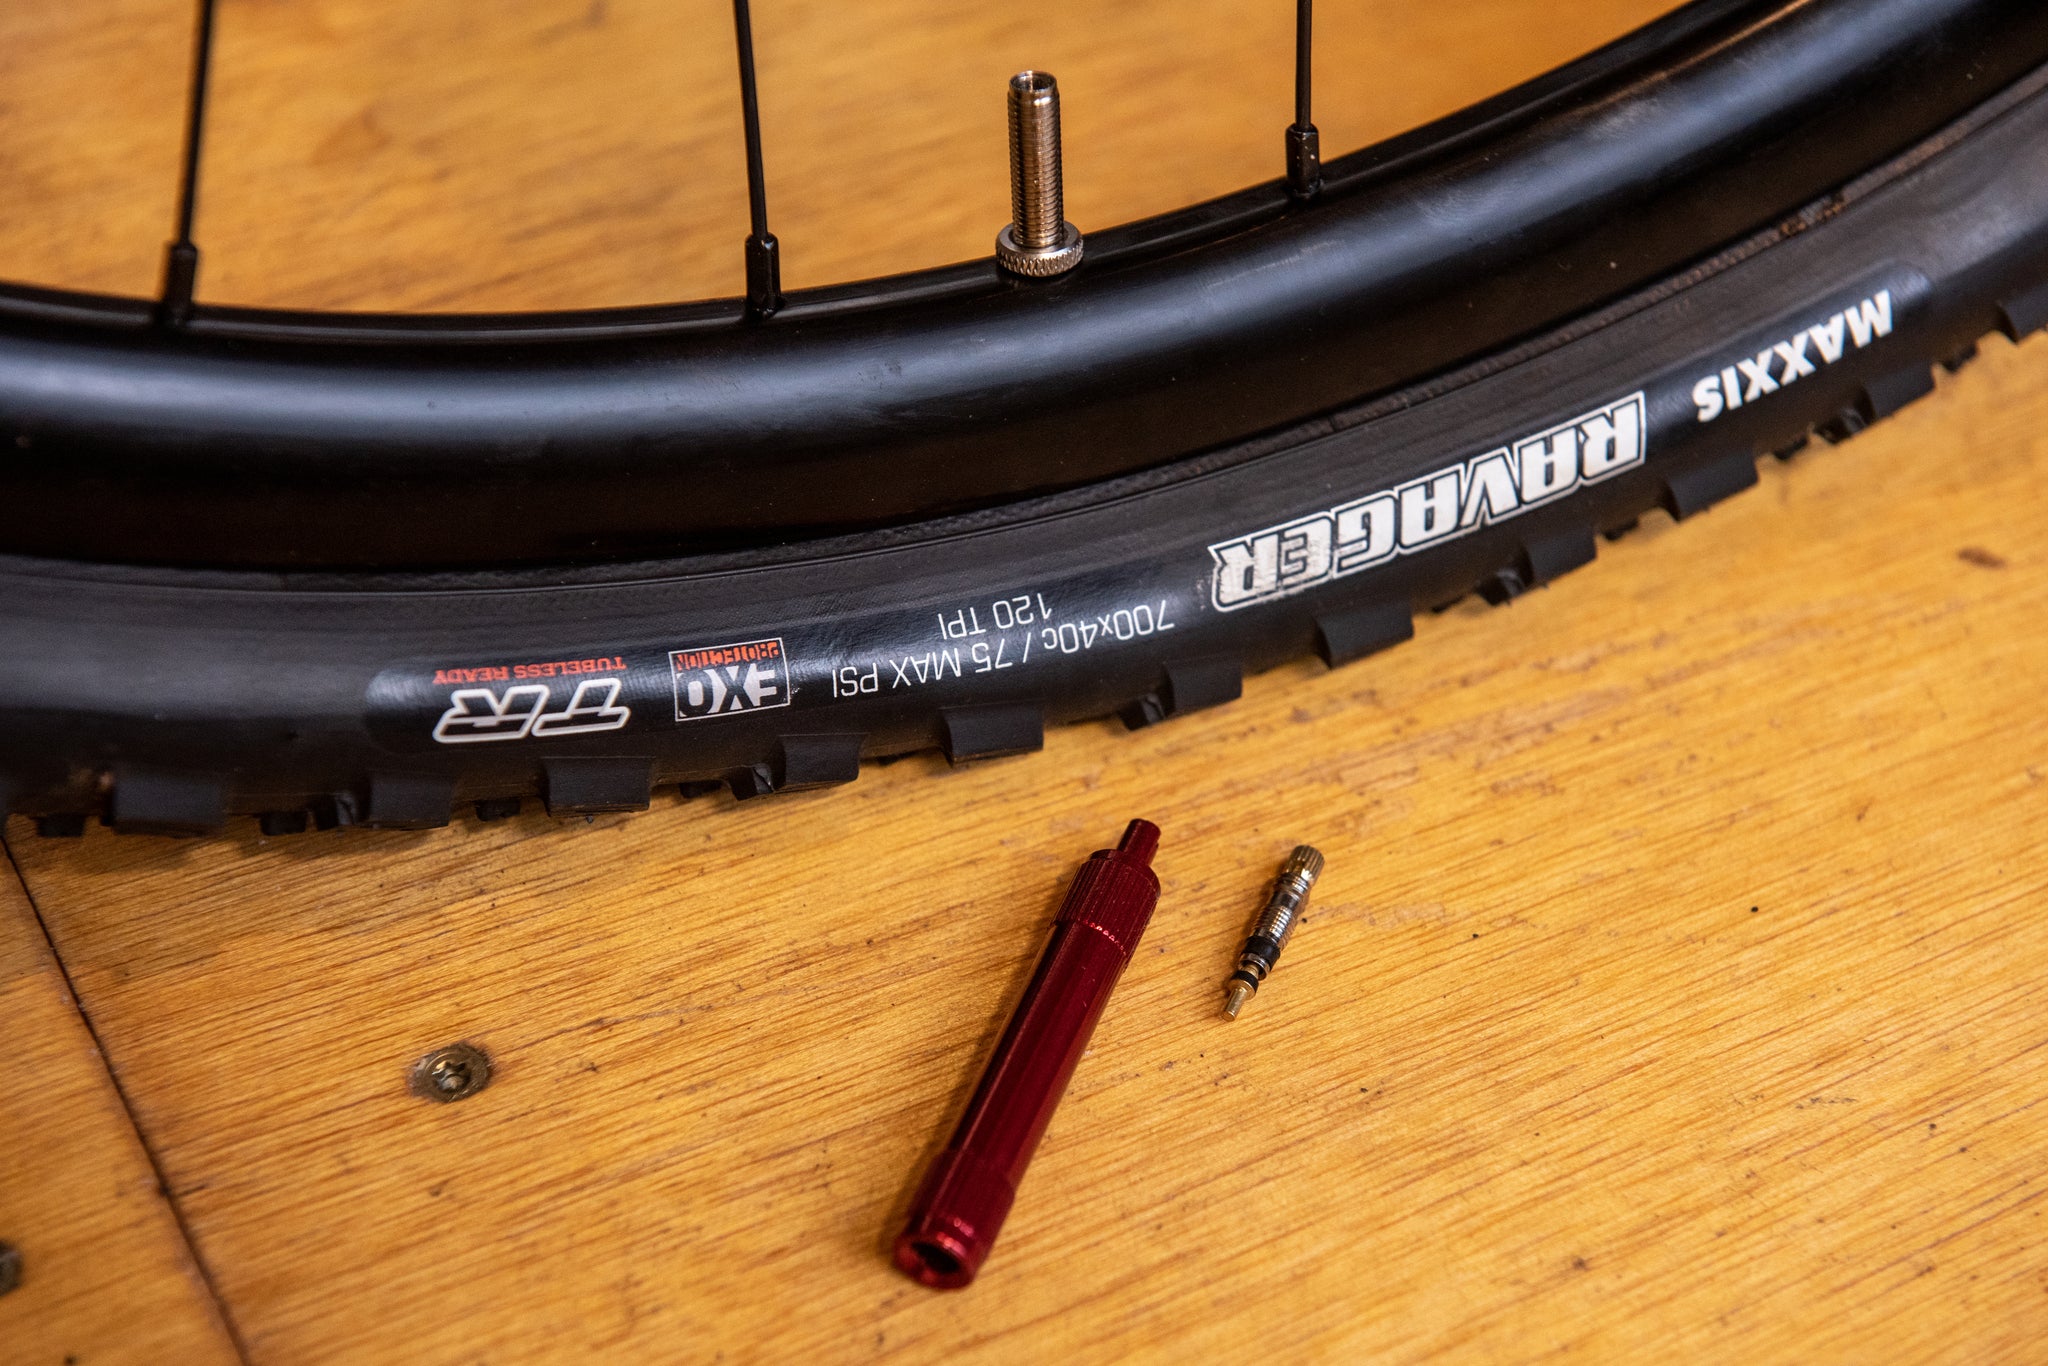
On the other hand, a tubeless tire system holds air pressure without the use of an inner tube. Tires intended for tubeless systems look similar to clinchers and are installed on a rim in the same way. The most common type of tubeless system is known as “tubeless-ready” or “tubeless-compatible.” It uses tubeless-ready tires and wheels, and tubeless sealant. Tubeless-ready tires hold air pressure thanks to a tight seal at the bead with a tubeless-ready rim. Tubeless sealant, a latex-based fluid, seals the tire's porous casing. It also has the added benefit of sealing small punctures caused by thorns, rocks, and other debris as you ride. Air is pumped into the tire through a tubeless valve that, when properly installed, produces an airtight seal at the valve hole.
Why you should consider tubeless
A tubeless wheel and tire system is usually lighter than a comparable clincher system because it eliminates the inner tube. This decreases overall bike weight, but most importantly, it decreases rotating weight at the outside of the wheel. This can make pedaling and accelerating slightly easier.
Riders can also run lower air pressure in tubeless tires compared to clincher tires because they don't have to worry about pinch flats as much. Pinch flats occur when the inner tube is compressed between the tire and rim during a hard impact.
On loose surfaces, you'll have more confidence, grip, and speed by running lower tire pressures. Tires conform better to the terrain when they're at lower pressures. This can even reduce rolling resistance on rough surfaces. Experiment with tire pressures to find your ideal set-up.
It is still possible to pinch-flat a tubeless tire if an impact is hard enough to cut the tire carcass itself. If you are bottoming out the tire against the rim regularly, your tire pressure is likely too low.
The addition of tubeless sealant can help prevent flat tires. If glass, rocks, thorns, or other debris puncture the tire, the tubeless sealant will coagulate at the puncture and seal it from further air loss. There is a limit what tubeless sealant can seal (e.g., Stan’s NoTubes tire sealant claims to repair holes up to ¼”), so sealant is not effective in all situations. But since the introduction of tubeless technology in cycling, flat tires have become far less common.
What are tubeless-compatible or tubeless-ready wheels and tires?
Modern tubeless systems require wheels and tires that are specifically designed to be run tubeless. The interface between tubeless-compatible or tubeless-ready wheels and tires is made to precise tolerances that provide a tight seal. To function, tubeless-ready wheels require a non-porous rim tape (such as Stan’s NoTubes yellow rim tape). This base protection will not absorb sealant and will make the rim air-tight. Tubeless-specific rim tape is the most common form of base protection. On most tubeless-ready wheels, the tubeless tape will already be installed.
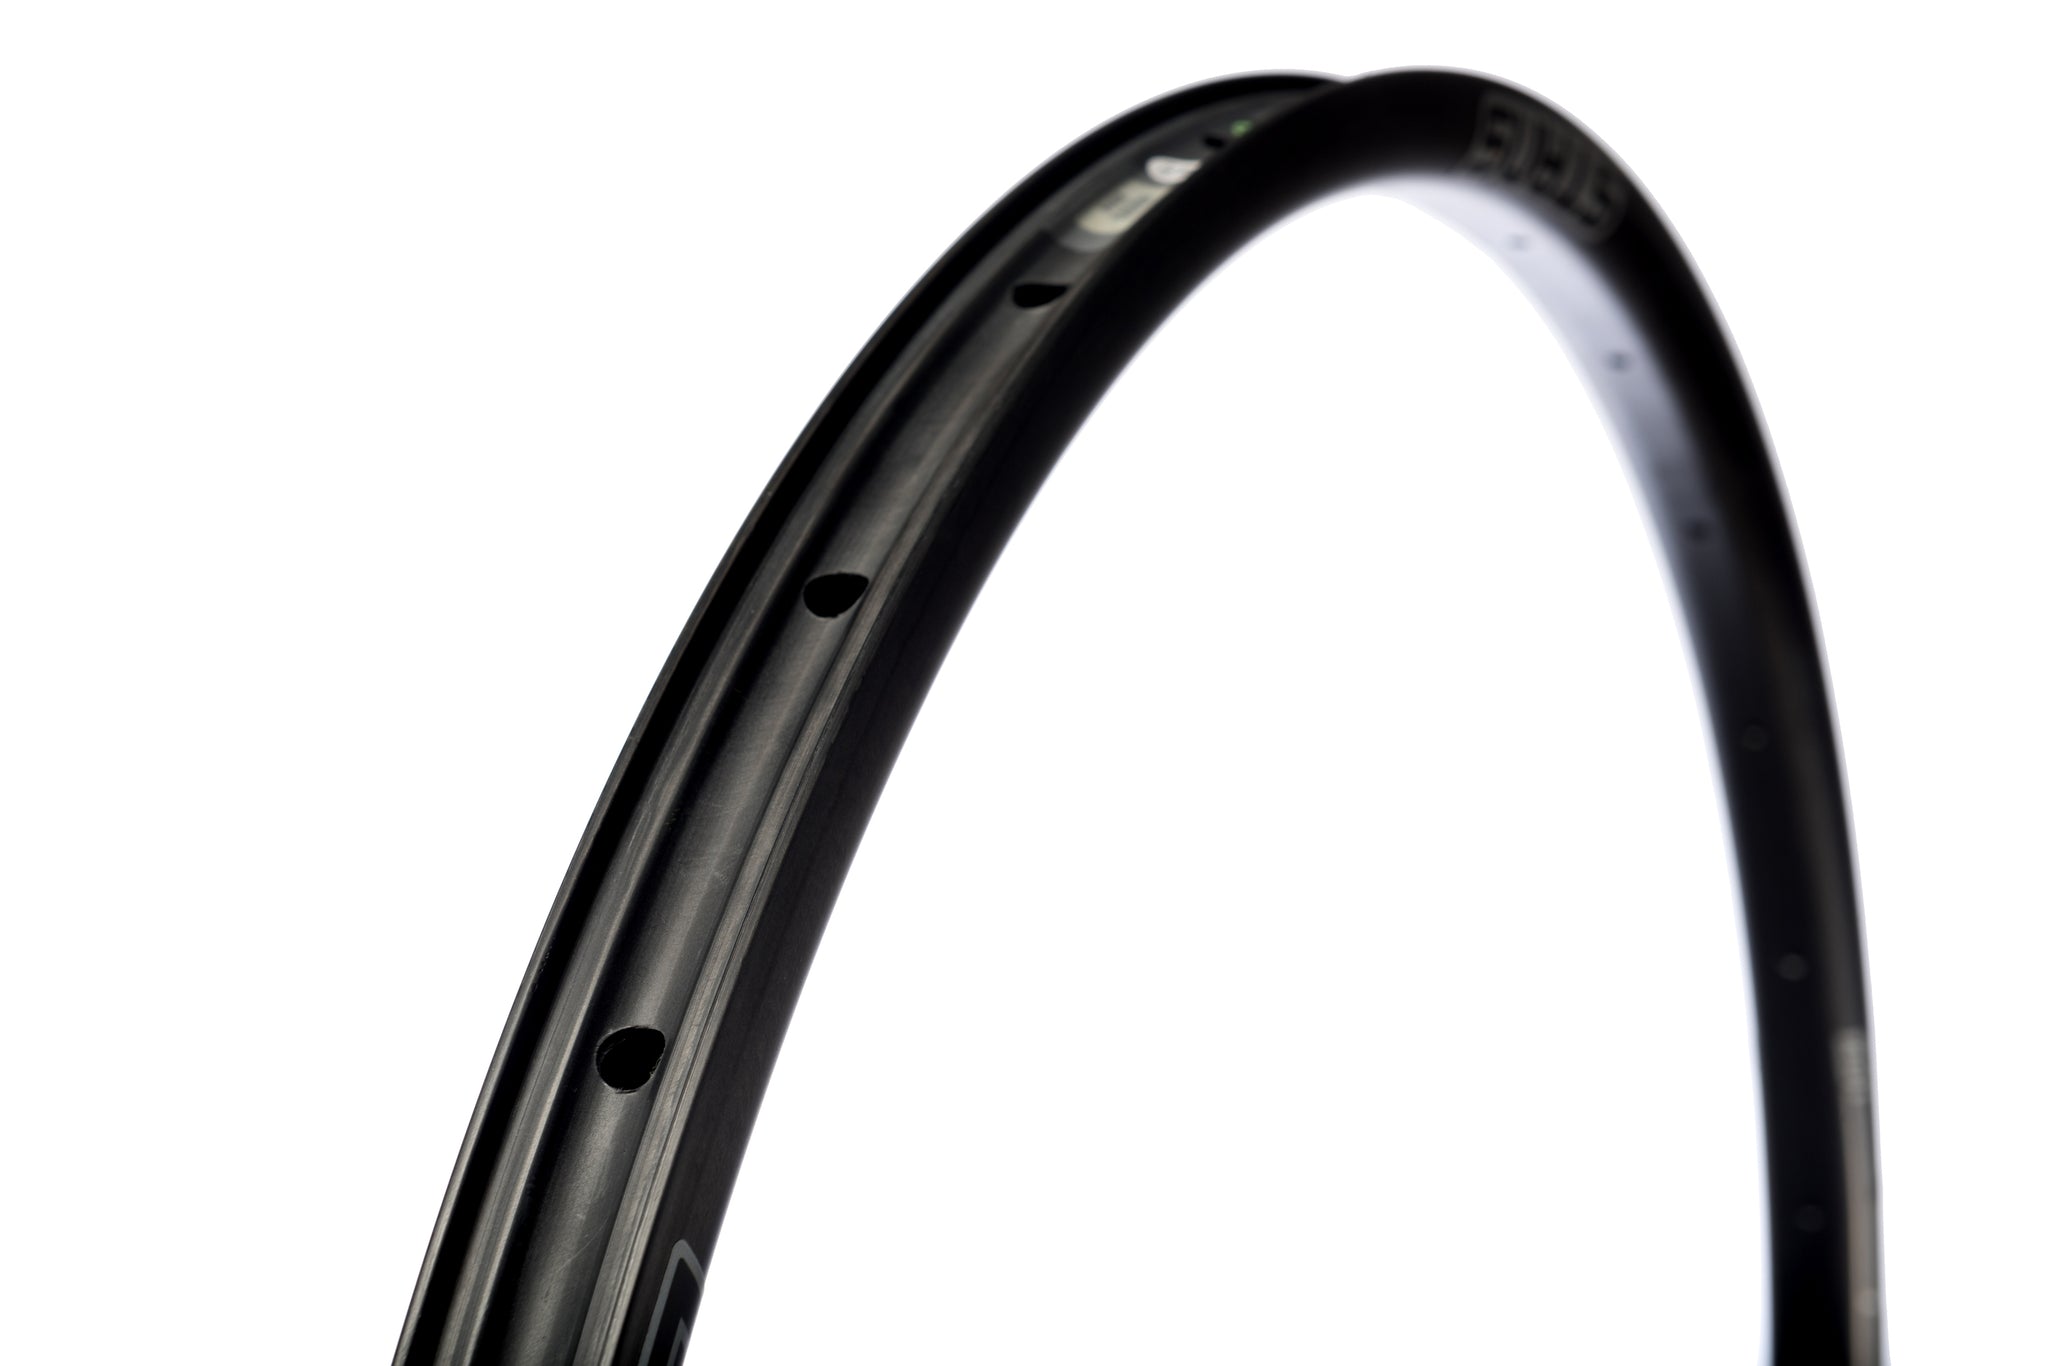 A tubeless-ready rim. This rim will be ready to be set up tubeless with the addition of tubeless tape. If you need to add tape to your tubeless-ready rim watch this instructional video: Tubeless Tape Installation.
A tubeless-ready tire will have higher modulus (meaning less elastic) beads that will fit tighter against the rim. Tubeless-ready tires have a standard casing, requiring the use of tubeless sealant to make it airtight. The sealant also has the added benefit of sealing punctures, should they occur while riding. Most tire manufacturers will indicate on a tire that it is tubeless-ready on the sidewall (e.g., Maxxis: TR, Schwalbe: TLE, Specialized: 2Bliss, WTB: TCS).
Most newer mountain and gravel bikes will come from the manufacturer with tubeless-ready wheels and tires. If you are unsure if your current wheels or tires are tubeless-ready, contact the manufacturer or our Ride Guides for more information.
Setting up and maintaining your tubeless system
Initial set-up is the most daunting task for most riders new to tubeless systems. Though it may seem intimidating, there are only a few easy steps and, in most cases, it will not require additional tools.
Tools
- Sealant
- Pump
- Tire Levers (if necessary)
- Tubeless valve (if not already included or installed)
- Tubeless tape (if not already included or installed)
- Valve core remover (if necessary)
Check that your wheels and tires are tubeless-ready
- Check that your tubeless-ready wheel is properly taped with tubeless tape. If there are gaps or areas where the tape has moved, lifted away from the rim, or been cut, retape the rim.
- If you need to retape your tubeless-ready rims, watch this instructional video: Tubeless Tape Installation.
- Check that tubeless valves are properly installed. A tubeless valve looks similar to and operates the same as a standard Presta valve. Instead of being attached to a tube, there is a rubber base on the valve that produces an airtight seal within the valve hole of the rim. Tubeless valves require a nut that threads onto the body of the valve. This nut tightens the rubber base against the valve hole. It should be tightened to finger tight.

Mounting and inflating tubeless tires
The process of mounting your tubeless tire is very similar to how traditional clinchers are mounted. Many modern tubeless tires can be installed and inflated using a standard floor pump. The video below goes into detail on how to mount a tubeless tire on a tubeless-ready rim and inflate it with a floor pump.
Stubborn tires may require more airflow to seat. If you are struggling to seat a tubeless tire with a standard floor pump, more airflow can be achieved in a few ways:
- Remove the valve core with a valve core remover. This will allow greater airflow through the valve to seat stubborn tires.
- Use an air compressor. An air compressor has much more power than a standard floor pump. Some pump manufacturers also produce floor pumps that have a pressurized chamber that functions like a mini air compressor. This chamber is filled with the floor pump, and it can then be released as a concentrated blast of air.
- Use a CO2 cartridge and inflator. CO2 inflators are often used for emergency flat repairs. In a pinch, they can be used to seat tubeless tires. Stan’s NoTubes recommends that after a tire is seated with CO2, the tire should be deflated, releasing the CO2, then reinflated with regular air and a pump.
Adding or refreshing sealant
Adding sealant to your tires can be done by either the direct pour or the valve injection method. Over time, the tubeless sealant in your tires will begin to dry out and lose its efficacy, so plan on refreshing your sealant quarterly (approx. every three months). This little bit of preventative maintenance will ensure that your tubeless system is always running properly.
Direct pour:
Valve injection:
What to do if you get a flat during a ride
Though tubeless systems are effective and reliable, they are not invincible. Flats and punctures can still happen. For most recreational riding, it’s still best to carry a flat repair kit that includes a traditional inner tube. The video below shows how to repair a flat with an inner tube so you can continue riding.
Tire plugs
Tire Plugs are a good option to repair tire punctures that tubeless sealant is unable to seal. Sometimes, if you plug a tire properly, an inner tube is unnecessary. There are many popular tire plug options on the market like Genuine Innovations’ “Side of Bacon" and Dynaplug tools.
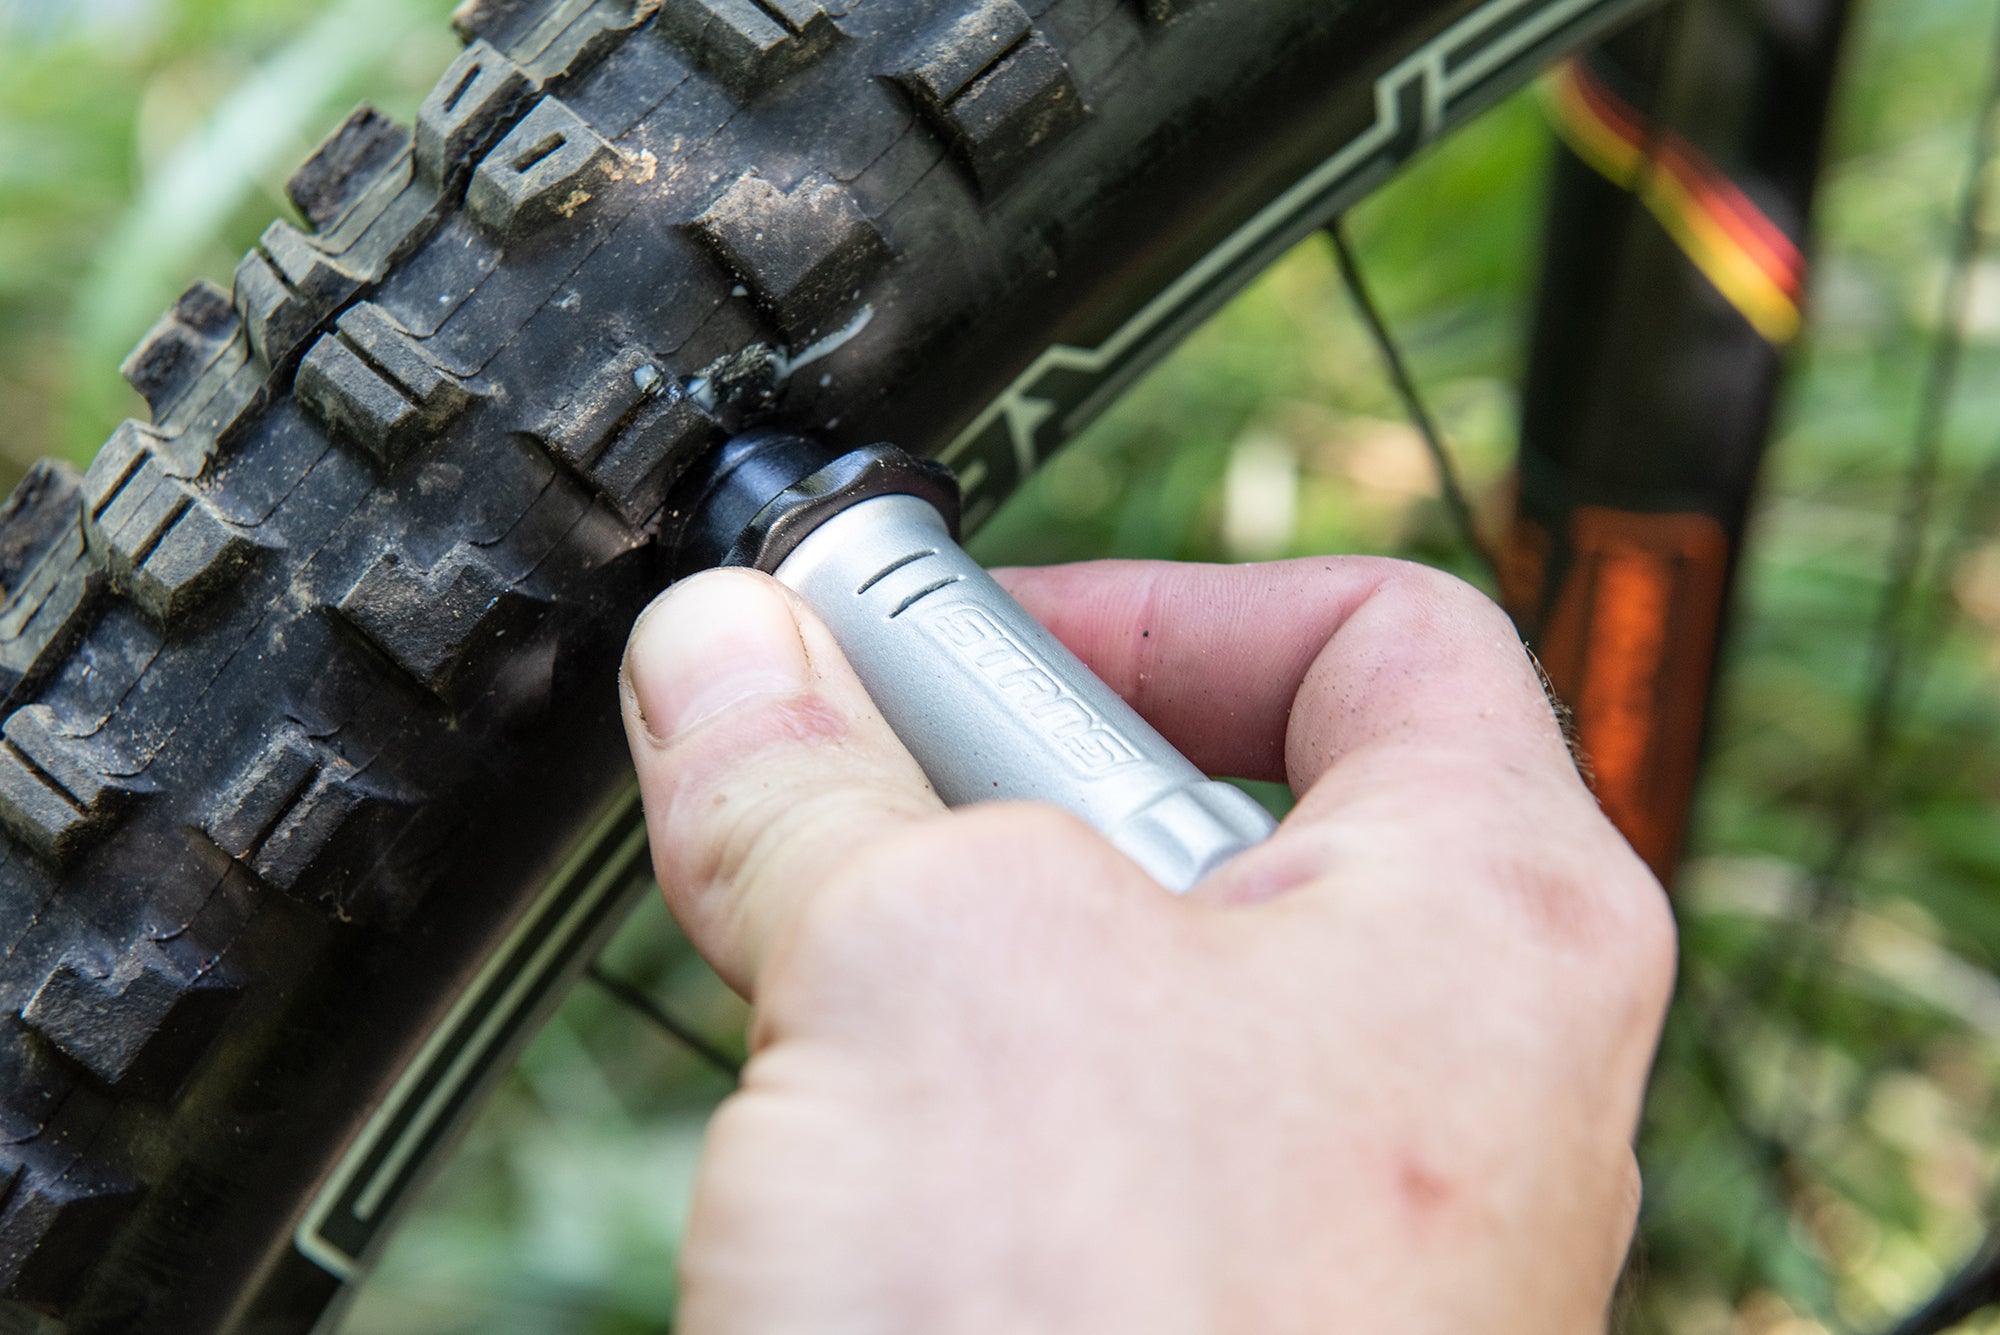 Stan’s NoTubes has developed its own DART tool to fix damaged tires faster, easier, and better than existing plug tools. The DART creates a chemical reaction with Stan’s sealant to quickly form a permanent airtight bond.
Troubleshooting
If your tubeless system is losing air, check out these troubleshooting tips from Stan’s NoTubes.
All photos and videos courtesy of Stan's NoTubes.
Visit Stan's NoTubes for more help videos and product information.